
Spec Sheet Basics
Areas, item codes, statuses — the structure behind every specification document.
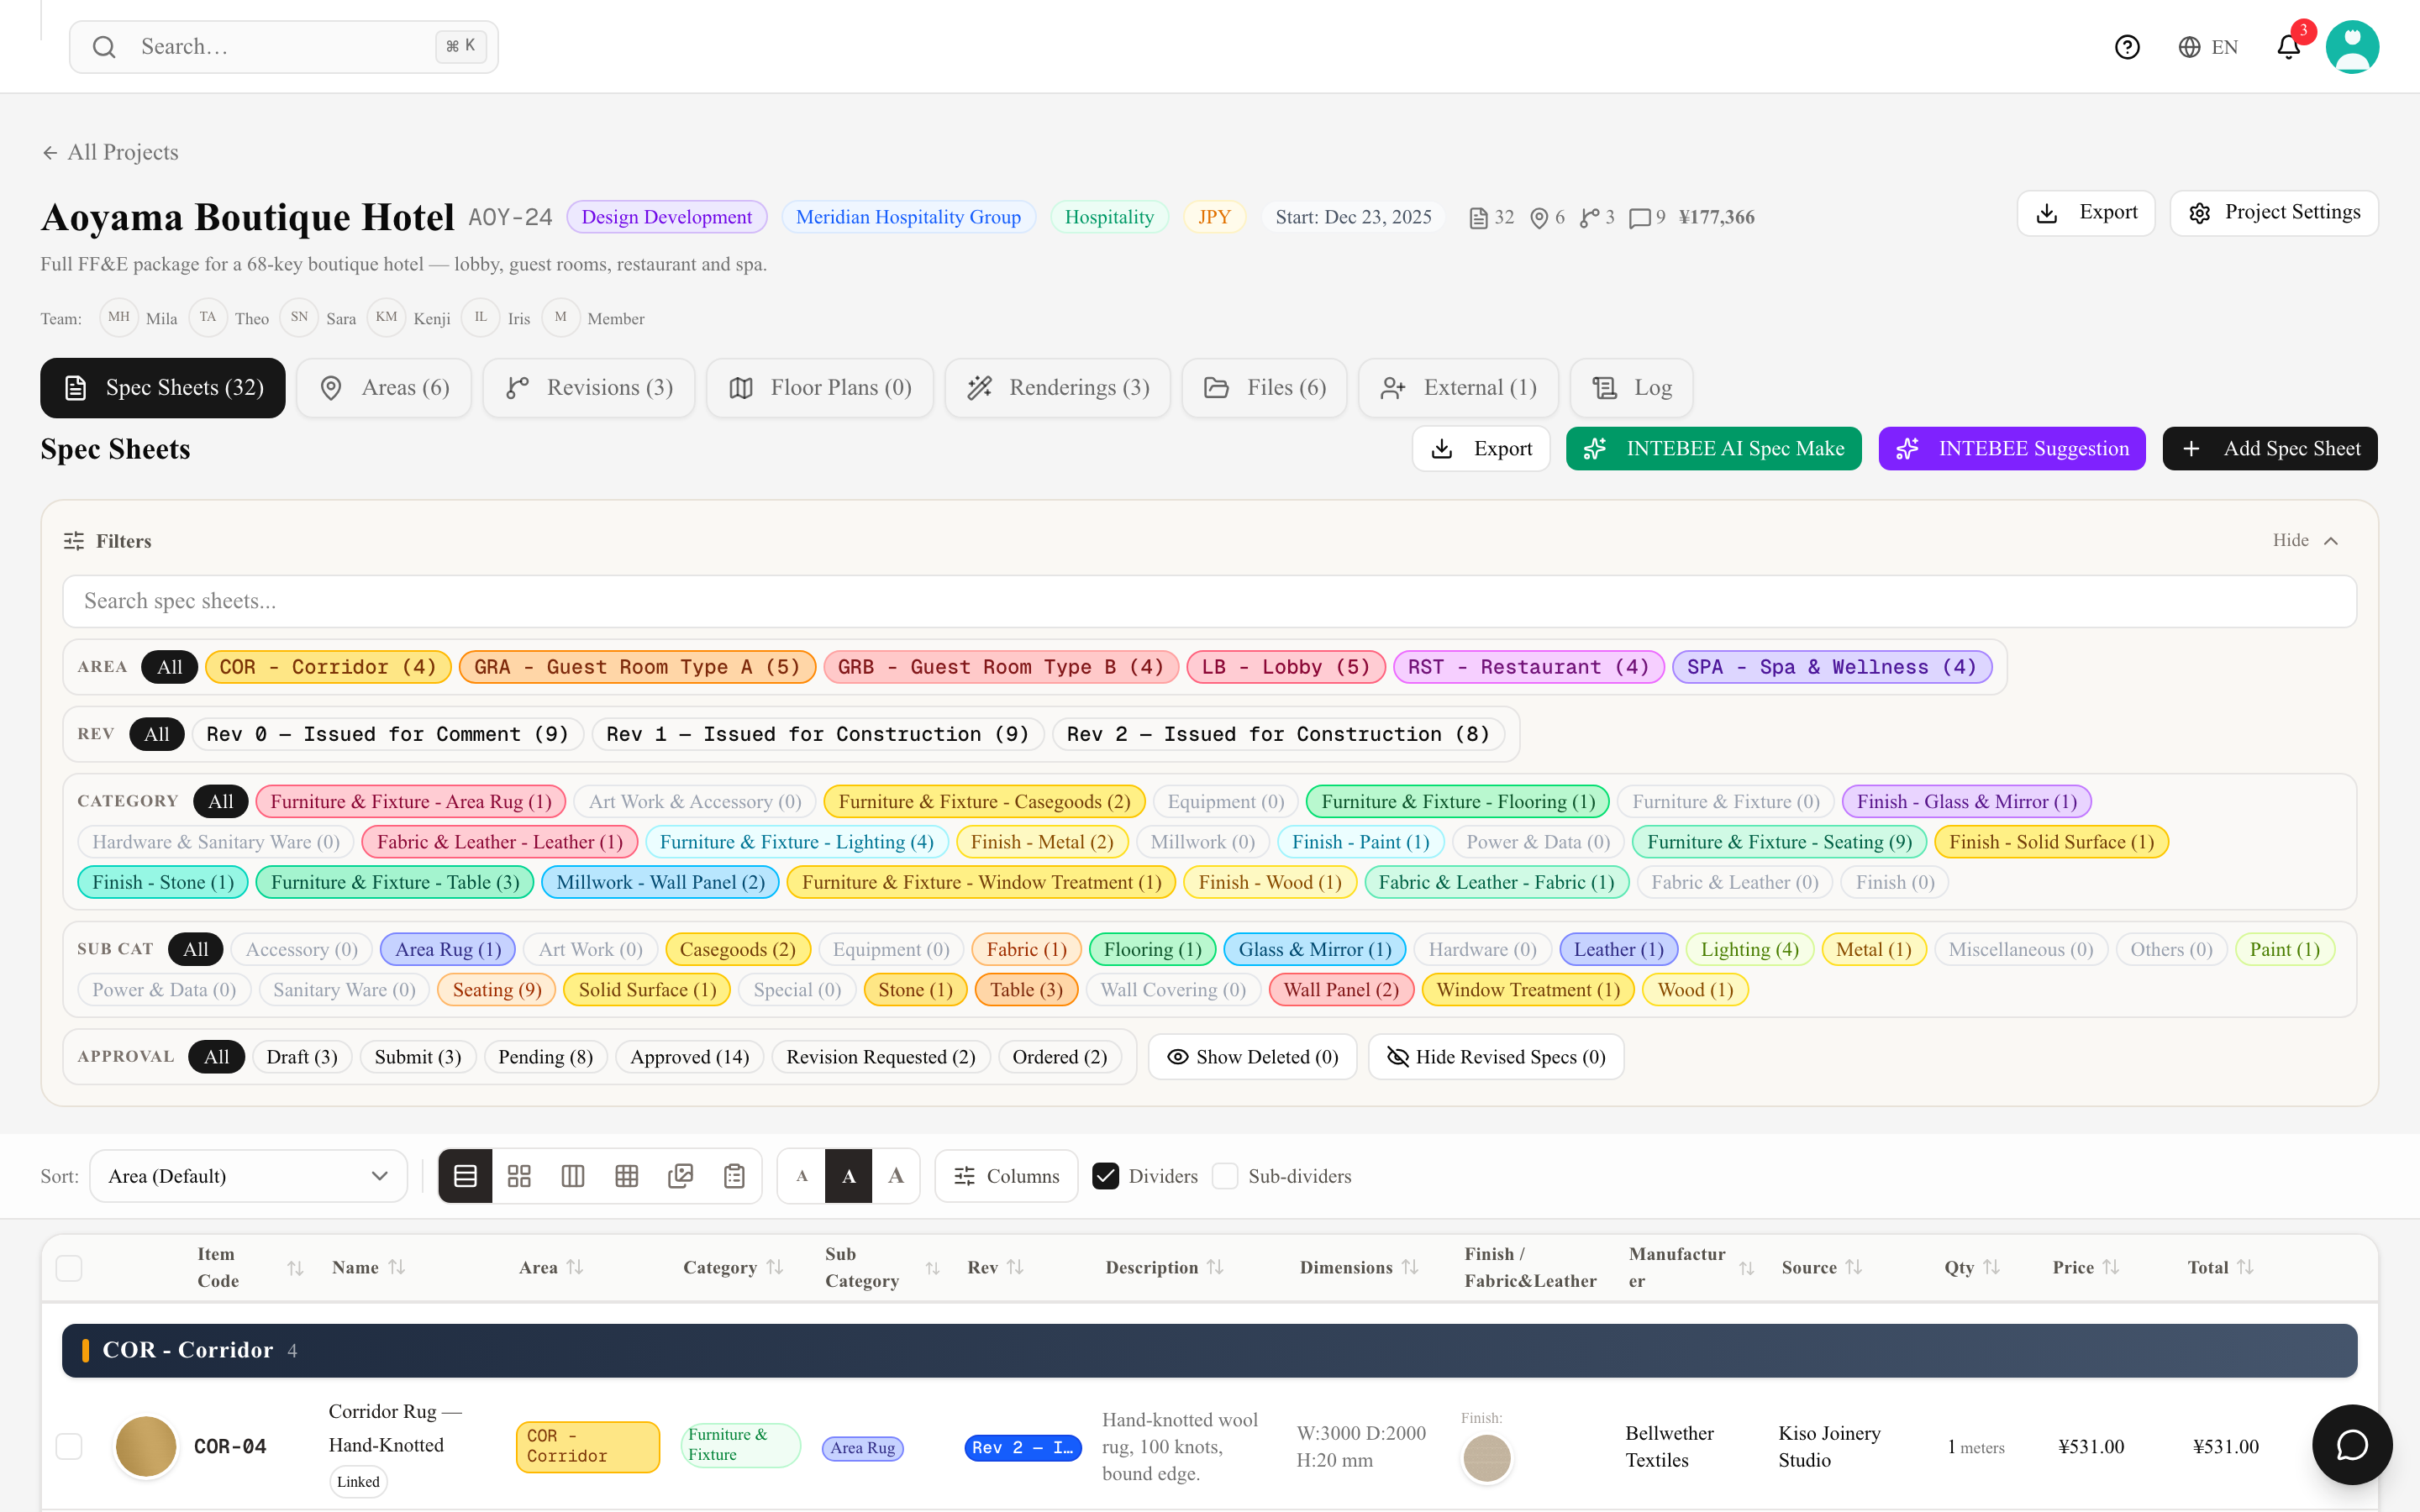
A spec sheet documents one item in a project: what it is, where it goes, its dimensions and materials, who makes and sells it, and what it costs. A project typically holds dozens to hundreds of sheets.
Anatomy of a spec sheet
- Item Code — the sheet's identifier (e.g.
LB-01). Codes are generated automatically from the area code plus a sequence number, following your project's Item Code Logic. You can also number manually, and optionally zero-pad codes (LB-001) — both are Project Settings → Code Settings options, set per project. A sheet brought over from the previous system can show Protected item code under its Code Number: that code stays exactly as it is when you change the area or category, on batch area moves, and when item codes are regenerated. Click Unlock on the sheet to let its code follow the project's logic again. - Area — the location this item belongs to. Grouping by area drives the document order and floor-plan placement.
- Core fields — name, description, category, quantity, dimensions, remarks and notes.
- Images — one main image plus sub images. Images appear on the printed sheet.
- Manufacturer & Source — companies from Team Sources, attached with Select / Edit.
- Finish | Fabric&Leather — the materials this item is made of, each one a spec sheet in its own right. See Finishes, fabrics & leather.
- Pricing — unit price, quantity, and currency (from the project).
Status
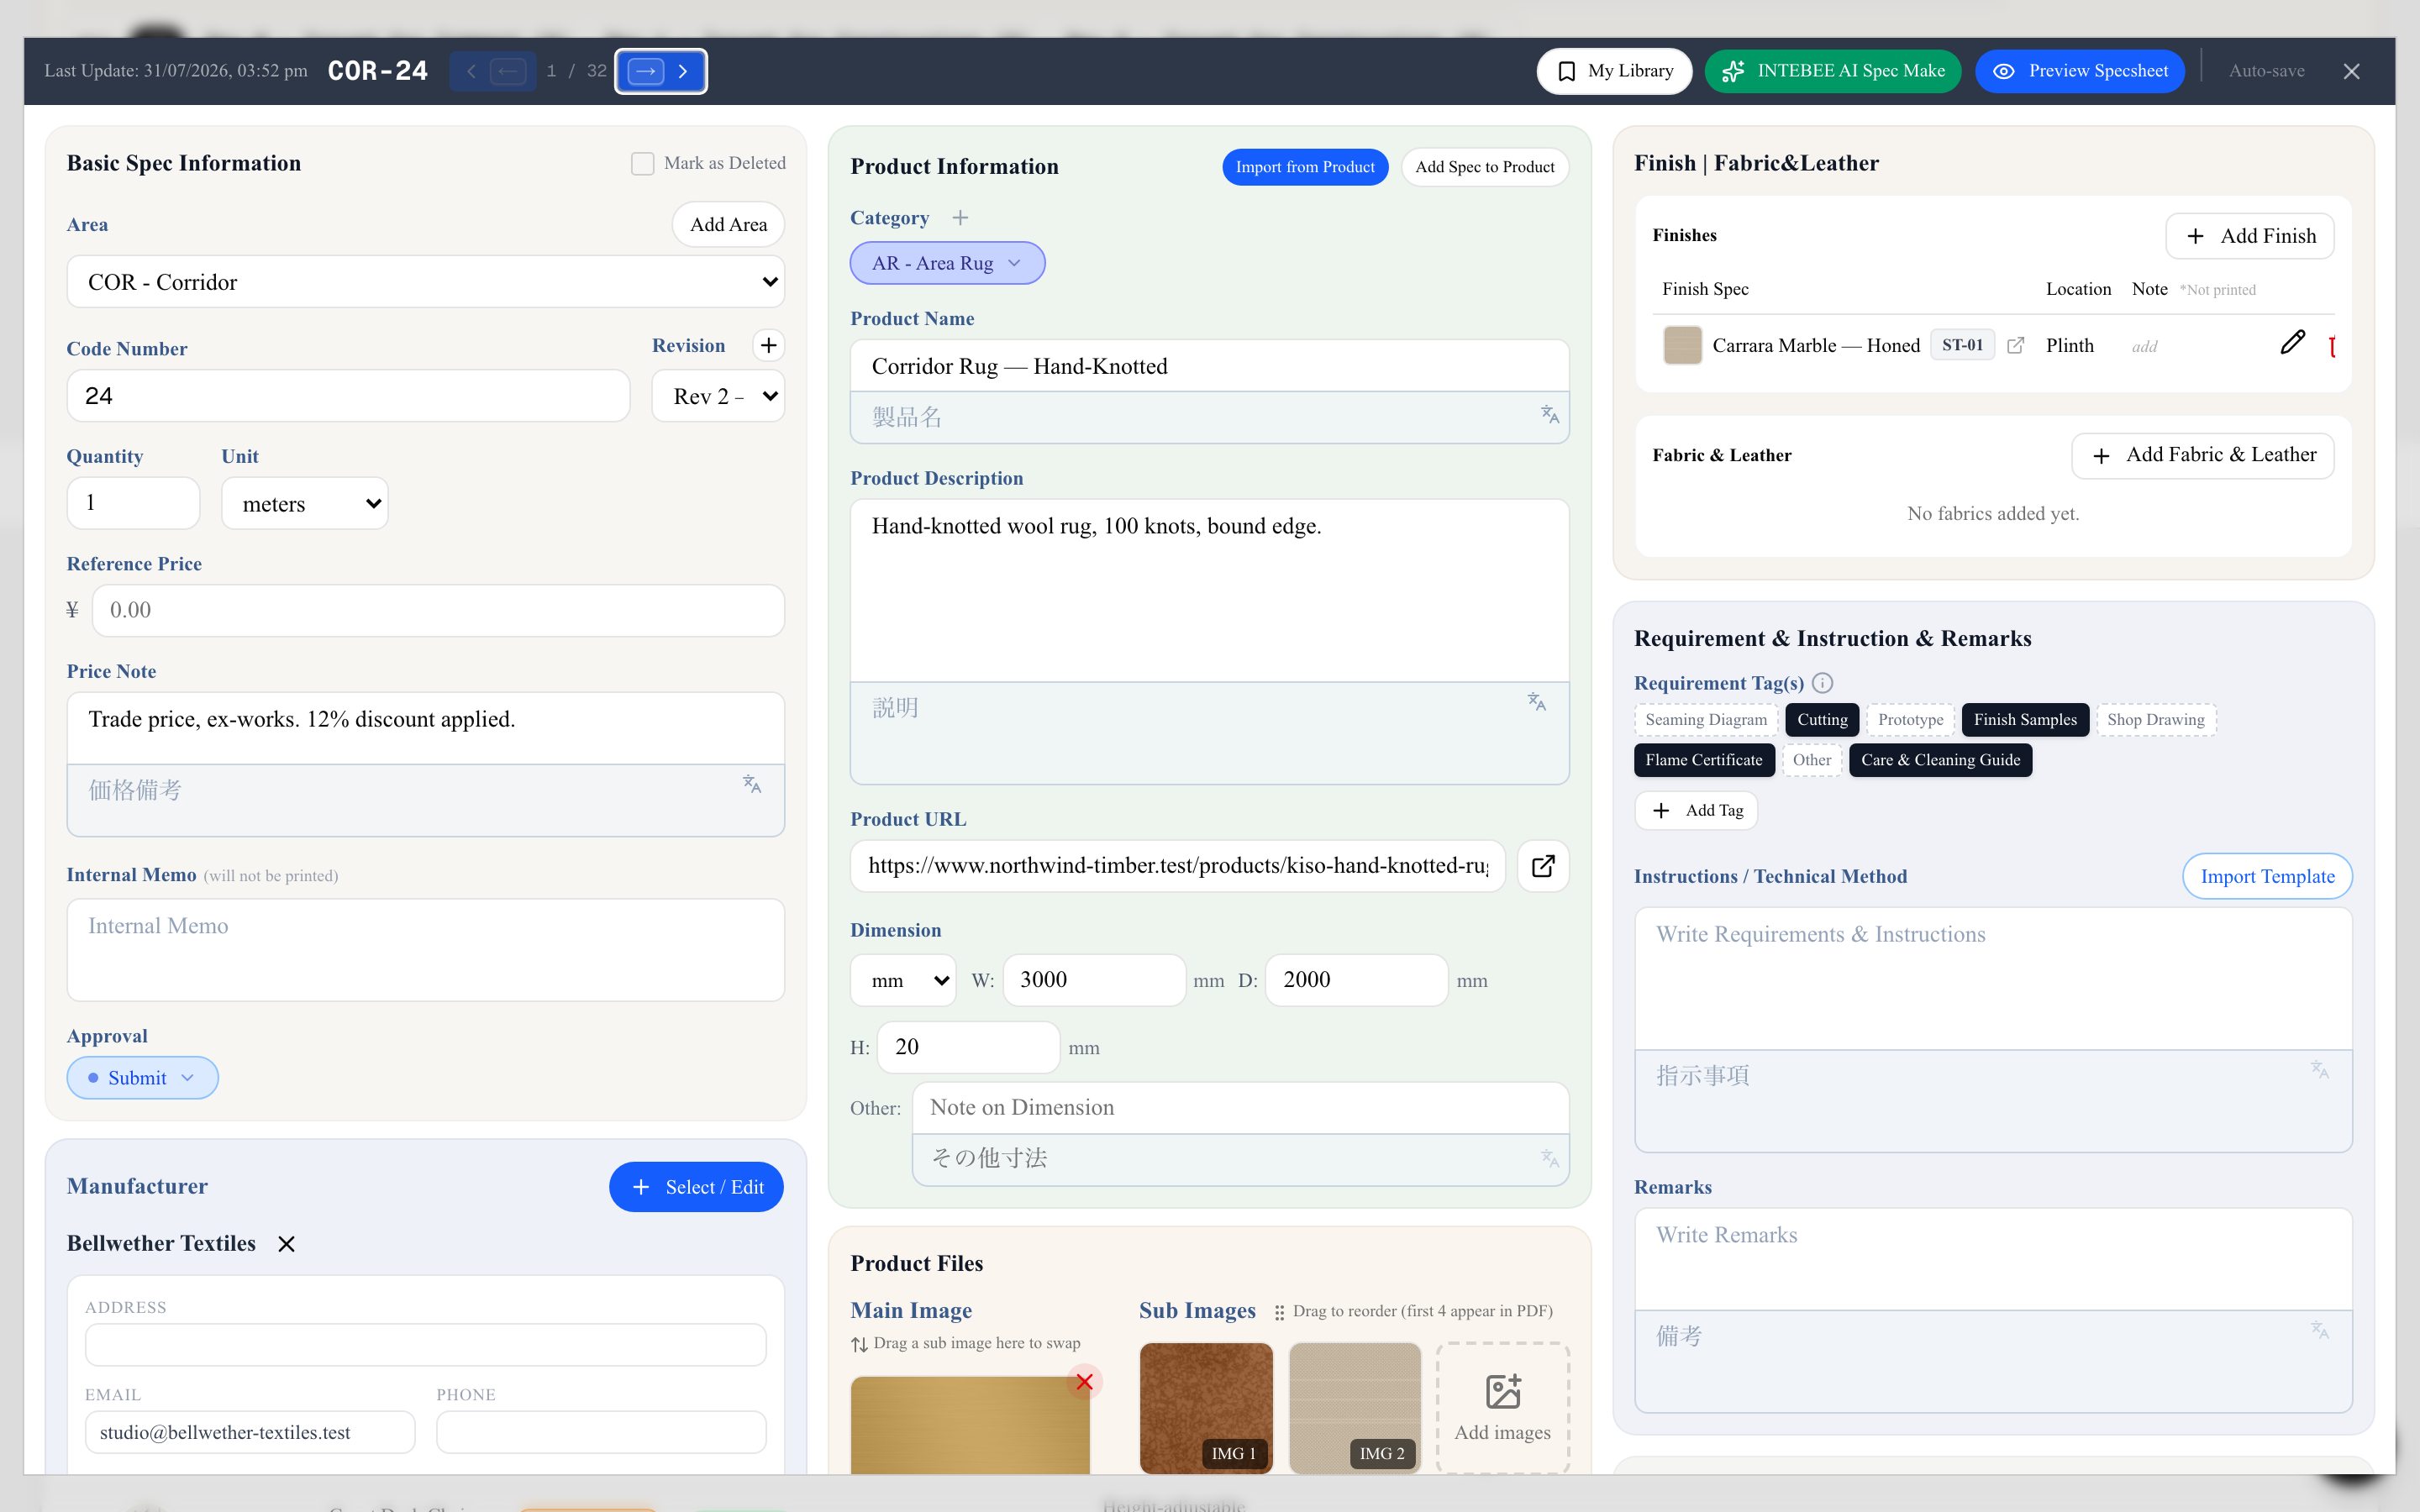
Each sheet carries one Status field — the state of that item, from the first draft to the day it arrives on site:
Not set, Draft, Submit, Pending, Approved, Rejected, Revision Requested, Pricing, Ordered, Production, Ready, Transporting, Delivered.
Beside it sits a free-text Status Note for the detail a single word can't carry — the order number, the ETA, who is chasing the supplier. Filter the Spec Sheets tab by one or several statuses to focus a review (see Filtering and sorting the list below), and export List → Status to give purchasing the whole picture in one table.
Revisions
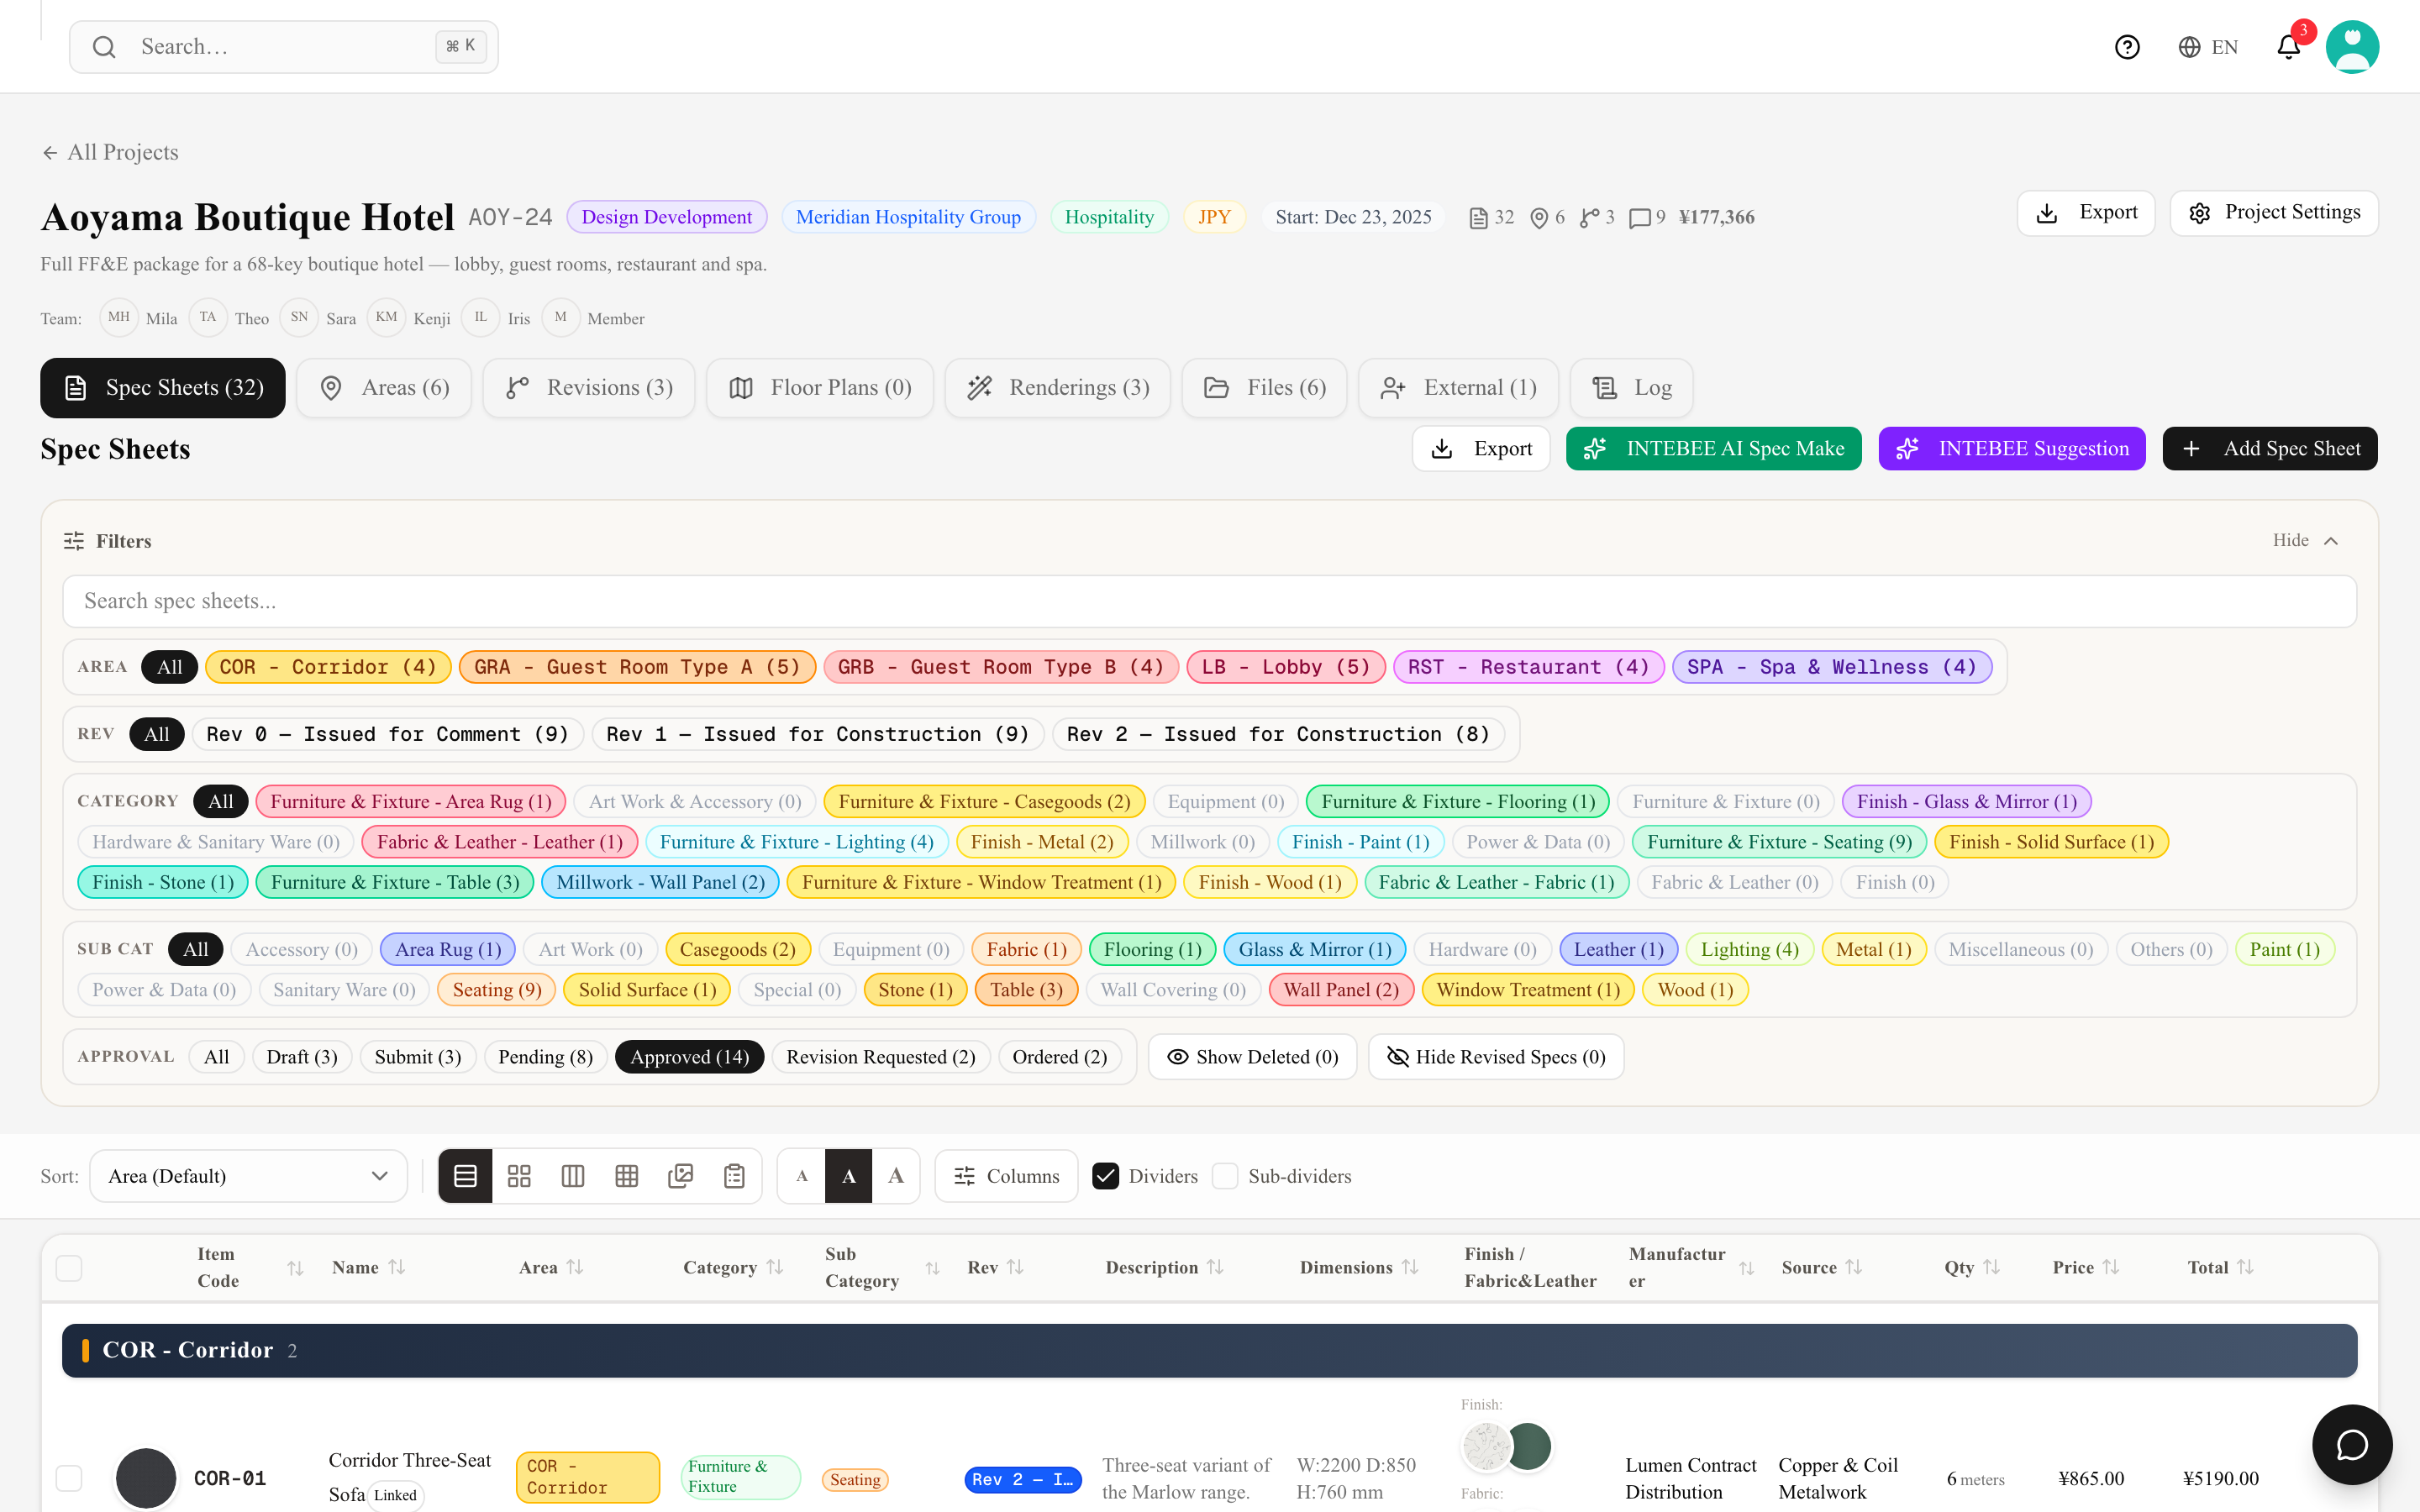
When a sheet changes after it has been issued, record a revision: the revision number and note appear on the document so contractors know they are looking at the latest version.
Comments
Team members can comment on any sheet, including with images (e.g. a site photo of a problem). Type @ to mention a colleague and they are notified; anyone can like a comment to agree without adding a reply. Discussions stay attached to the item they're about.
Lists, trash and bulk edits
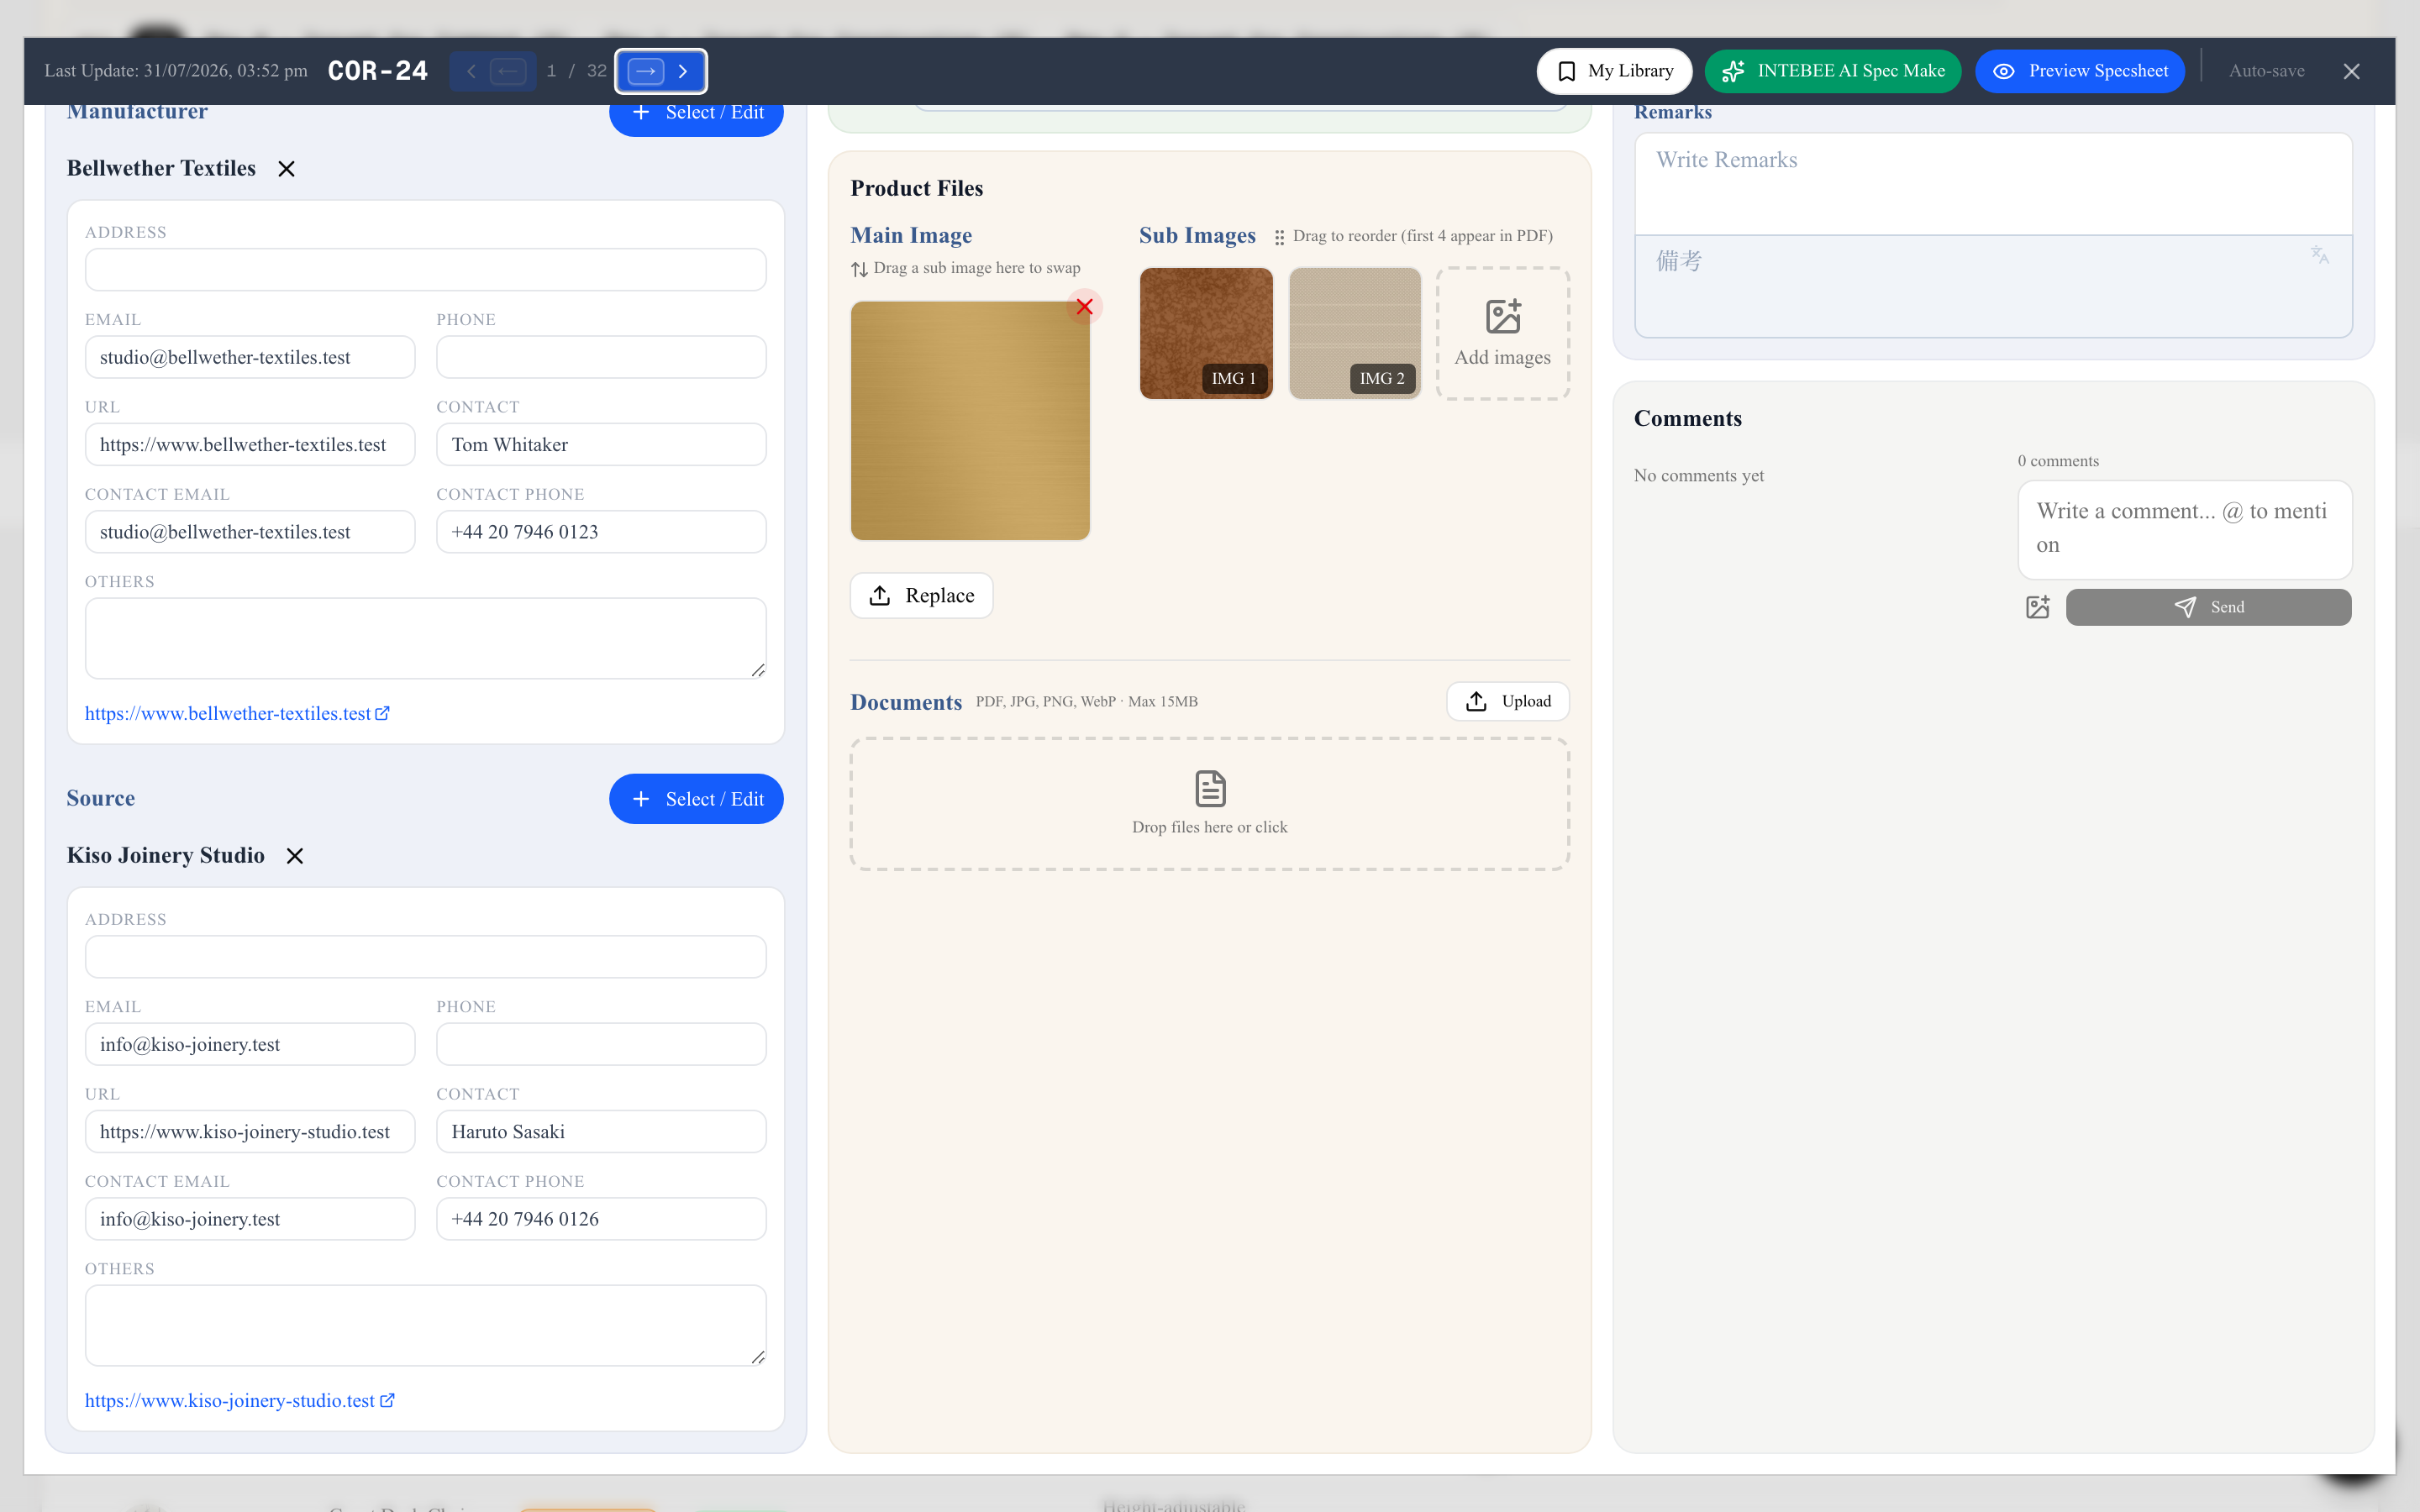
The Spec Sheets tab is one list with six ways of looking at it — Table, Card, Vertical, Grid, Moodboard and List (Schedule) — switched from the icon row above the list. Tick the checkbox on several rows and a bar appears with Delete Selected, Change Area and Change Revision, so a whole room can be moved to a new revision in one go.
Deleting is never destructive. A sheet you no longer want can be flagged Mark as Deleted in the editor — it stays in the list, greyed out, and Hide Deleted takes those rows out of view. Deleting a row from the list puts it in Trash instead, where Restore brings it back. Restore puts the sheet back the way it was: a sheet that was already marked as deleted before it went to the Trash comes back still marked as deleted. If its code number was given to another sheet in the meantime, a warning asks you to open the sheet and renumber it.
Hold Shift while ticking a row to tick (or clear) every row between it and the last row you clicked. In the Trash the bar offers Restore Selected instead, which brings every ticked sheet back at once. When the filters leave nothing to show, the list says No spec sheets match the filters. with a Clear filters button. The Price column and the totals show each sheet's Reference Price — the price you enter in the editor — with thousand separators.
Change Area keeps the revisions of one item together: sheets that share an item code on different revisions (for example LB-001 and its R2 version) move as one and keep sharing one number. If that number is already used in the new area, the whole group takes the next free number.
The table also works from the keyboard: Tab reaches each row, Enter or Space opens it, and closing the editor puts you back on that row. The open sheet is part of the page address (?spec=…), so reloading the page or sending the link opens the same sheet, and the browser's Back button closes it. Forward opens it again.
Row actions
Every row ends with a small ▼ button (Spec actions). Click it, or right-click anywhere on the row, to open the row's menu. From the keyboard, Tab to the button and press Enter, or press Shift+F10 on a focused row. The Card, Grid, Moodboard, Vertical and List (Schedule) views carry the same button on each sheet. External collaborators, who can only read the project, don't get the menu.
- Duplicate copies the sheet in this project with a new item code and opens the copy in the editor.
- Mark as Deleted / Unmark as Deleted sets or clears the greyed-out Deleted status described above. It is a status only: a finish or fabric marked as deleted stays listed on the items that use it, and the message after marking says how many.
- Show related specs appears when the sheet is linked as a Finish or Fabric & Leather (see Finishes and fabrics), with the number of related sheets.
- Delete moves the sheet to the Trash after a confirmation. This works on a sheet marked as deleted, too. The editor offers the same delete in its header — the trash icon Delete this spec sheet (in the ⋮ menu on a narrow screen) — with the same confirmation; it is not shown in the Trash or to external collaborators.
When the sheet you delete is listed as a Finish or Fabric & Leather on other sheets, the confirmation first lists those sheets (up to ten, then "+N more") and warns that deleting removes it from their lists: the link is removed, not only hidden in print. Restoring the sheet from the Trash does not bring the links back. Delete Selected shows one confirmation that sums up every linked sheet in the selection. Sheets without such links get the usual confirmation.
Show related specs narrows the list to the sheets connected to this one: for a finish or fabric, the items that list it; for an item, the finishes and fabrics it lists. The sheet itself stays in the list, highlighted, so you keep your place. A Related to … chip appears at the top of the Filters panel, and its × returns to the list as it was. While the chip is on, the other filters and the search are paused; Hide Deleted and Hide Revised Specs still apply, and the Trash never shows. The filter lives in the page address (?related=…), so Back and reload keep it. It is not saved anywhere else. Choosing another filter, searching or opening the Trash ends the related view, and the paused filters apply again. A link to a sheet that is not in this project says This spec sheet is not in this project., and one to a sheet in the Trash says to restore it first. The Revised badge, Hide Revised Specs and the related count in the row menu always look at the whole project, whatever filter is on.
Filtering and sorting the list
The Filters panel above the list narrows what you see. Filters combine, and they stay in the page address, so you can bookmark a filtered list or send it to a teammate.
- Category and Sub Cat — one chip per category, with the number of sheets it holds in this project. Chips that count 0 are hidden, so the rows show only what the project actually uses.
- Status — one dropdown with a checkbox per status and its count. Tick one status to see only that status, tick several to see all of them together, and tick All to clear the filter. The button shows your selection: All, or for example "Draft, Pending (3)" — the ticked statuses and how many sheets they cover. Not set collects the sheets that have no status yet, so the counts add up to the All row.
- Hide Deleted, Hide Revised Specs and Trash — take sheets marked as deleted, or superseded by a revision, out of view, or open the Trash.
The floating toolbar at the bottom of the screen carries the same filters while you scroll, including a Not set chip with its count. A status ticked there is ticked in the panel too, and the other way round.
To show the empty categories as well:
- Click the gear (Filter settings) at the top right of the Filters panel.
- Switch on Show categories with no spec sheets.
This switch is saved for your account. It applies to every project and to All Specs, and each teammate keeps their own.
The Sort menu above the list offers Area, Item Code, Area → Category, Category, Sub Category, Manufacturer and Approval Status. Your pick is remembered for your account and for that project only: each project keeps its own, each teammate keeps their own, and it follows you to every device. Picking a sort in one project never changes how another project, or All Specs, opens. One option carries a Default badge: the order this project's list opens in until you pick another one here. It is decided in this order:
- The project's Default Sort (Project Settings → Code Settings).
- The team's Default spec sheet sort (Settings → General → Spec Sheet List). Admins and managers can change it.
- Area, when neither is set.
Choosing the option with the Default badge puts the project back on its default: your pick for that project is cleared, and its list follows the default from then on, including later changes to the project's or the team's setting.
What each order does: Area groups the sheets by area, in area-code order — 0, 1, 2, 10, then lettered codes such as L1 or RES — the same order as the Area filter row. Areas with no code follow by name, and sheets with no area come last. Inside an area the categories follow alphabetically, each with its sub categories, and inside a sub category the sheets run by item code. Category is the same order without the area level, and Item Code lists every sheet by its code alone. Codes are read the way you read them — letters first, then the number by its value — so FB-2 comes before FB-10 and 1009A sits right after 1009. Area → Category also groups by area, but moves the finish and fabric categories below the others, the way the Category filter row lists them.
Clicking a column header sorts by that column for the moment only. It is not saved, and your next visit opens in your Sort menu choice for that project again, or in its default if you have none.
Three ways to fill a sheet
- Type it in. The default, and what most sheets are: open the sheet and write the fields. You are describing a specific item for a specific project, and nothing else knows that item better than you do. See Editing spec sheet fields.
- INTEBEE AI Spec Make. Give AI a product name or a product page URL and it researches the item, fills the fields and proposes images — a draft you then check and correct. 1 AI credit per search. See AI Spec Make.
- Import from Product. For items already in your catalog. Import from Product copies a Team Products or My Library entry's fields into the sheet, so a chair you specified last year does not get retyped.
Linked is a state, not an action. When a sheet is connected to a catalog product — because you imported it from Team Products, or because you registered it there — the list shows a Linked badge on that row. A My Library import links only when the saved item itself came from a team product.
You can also Duplicate an existing sheet in this project when the next item is a close variant of the last one.
The reverse of Import also exists: Add Spec to Product takes the sheet you just wrote and registers it in Team Products, so the next project can import it.