
Create Your Workspace
Sign up, name your team, and set the defaults every new project will inherit.
Everything in INTEBEE lives inside a workspace — your team's shared space. The person who creates the workspace becomes an admin of it, which is what lets them manage the subscription, the members and the team-wide defaults.
Sign up
- Open the INTEBEE start page and choose Sign up & Create a Team.
- Enter your name, email, and password, and a team name — this becomes your workspace name (you can change it later under Settings → General).
- Confirm your email address using the link we send you.
If the sign-up button reads Coming soon, new registrations are not open yet — an INTEBEE administrator opens them from the admin panel. Sign in with an existing account, or check back later.
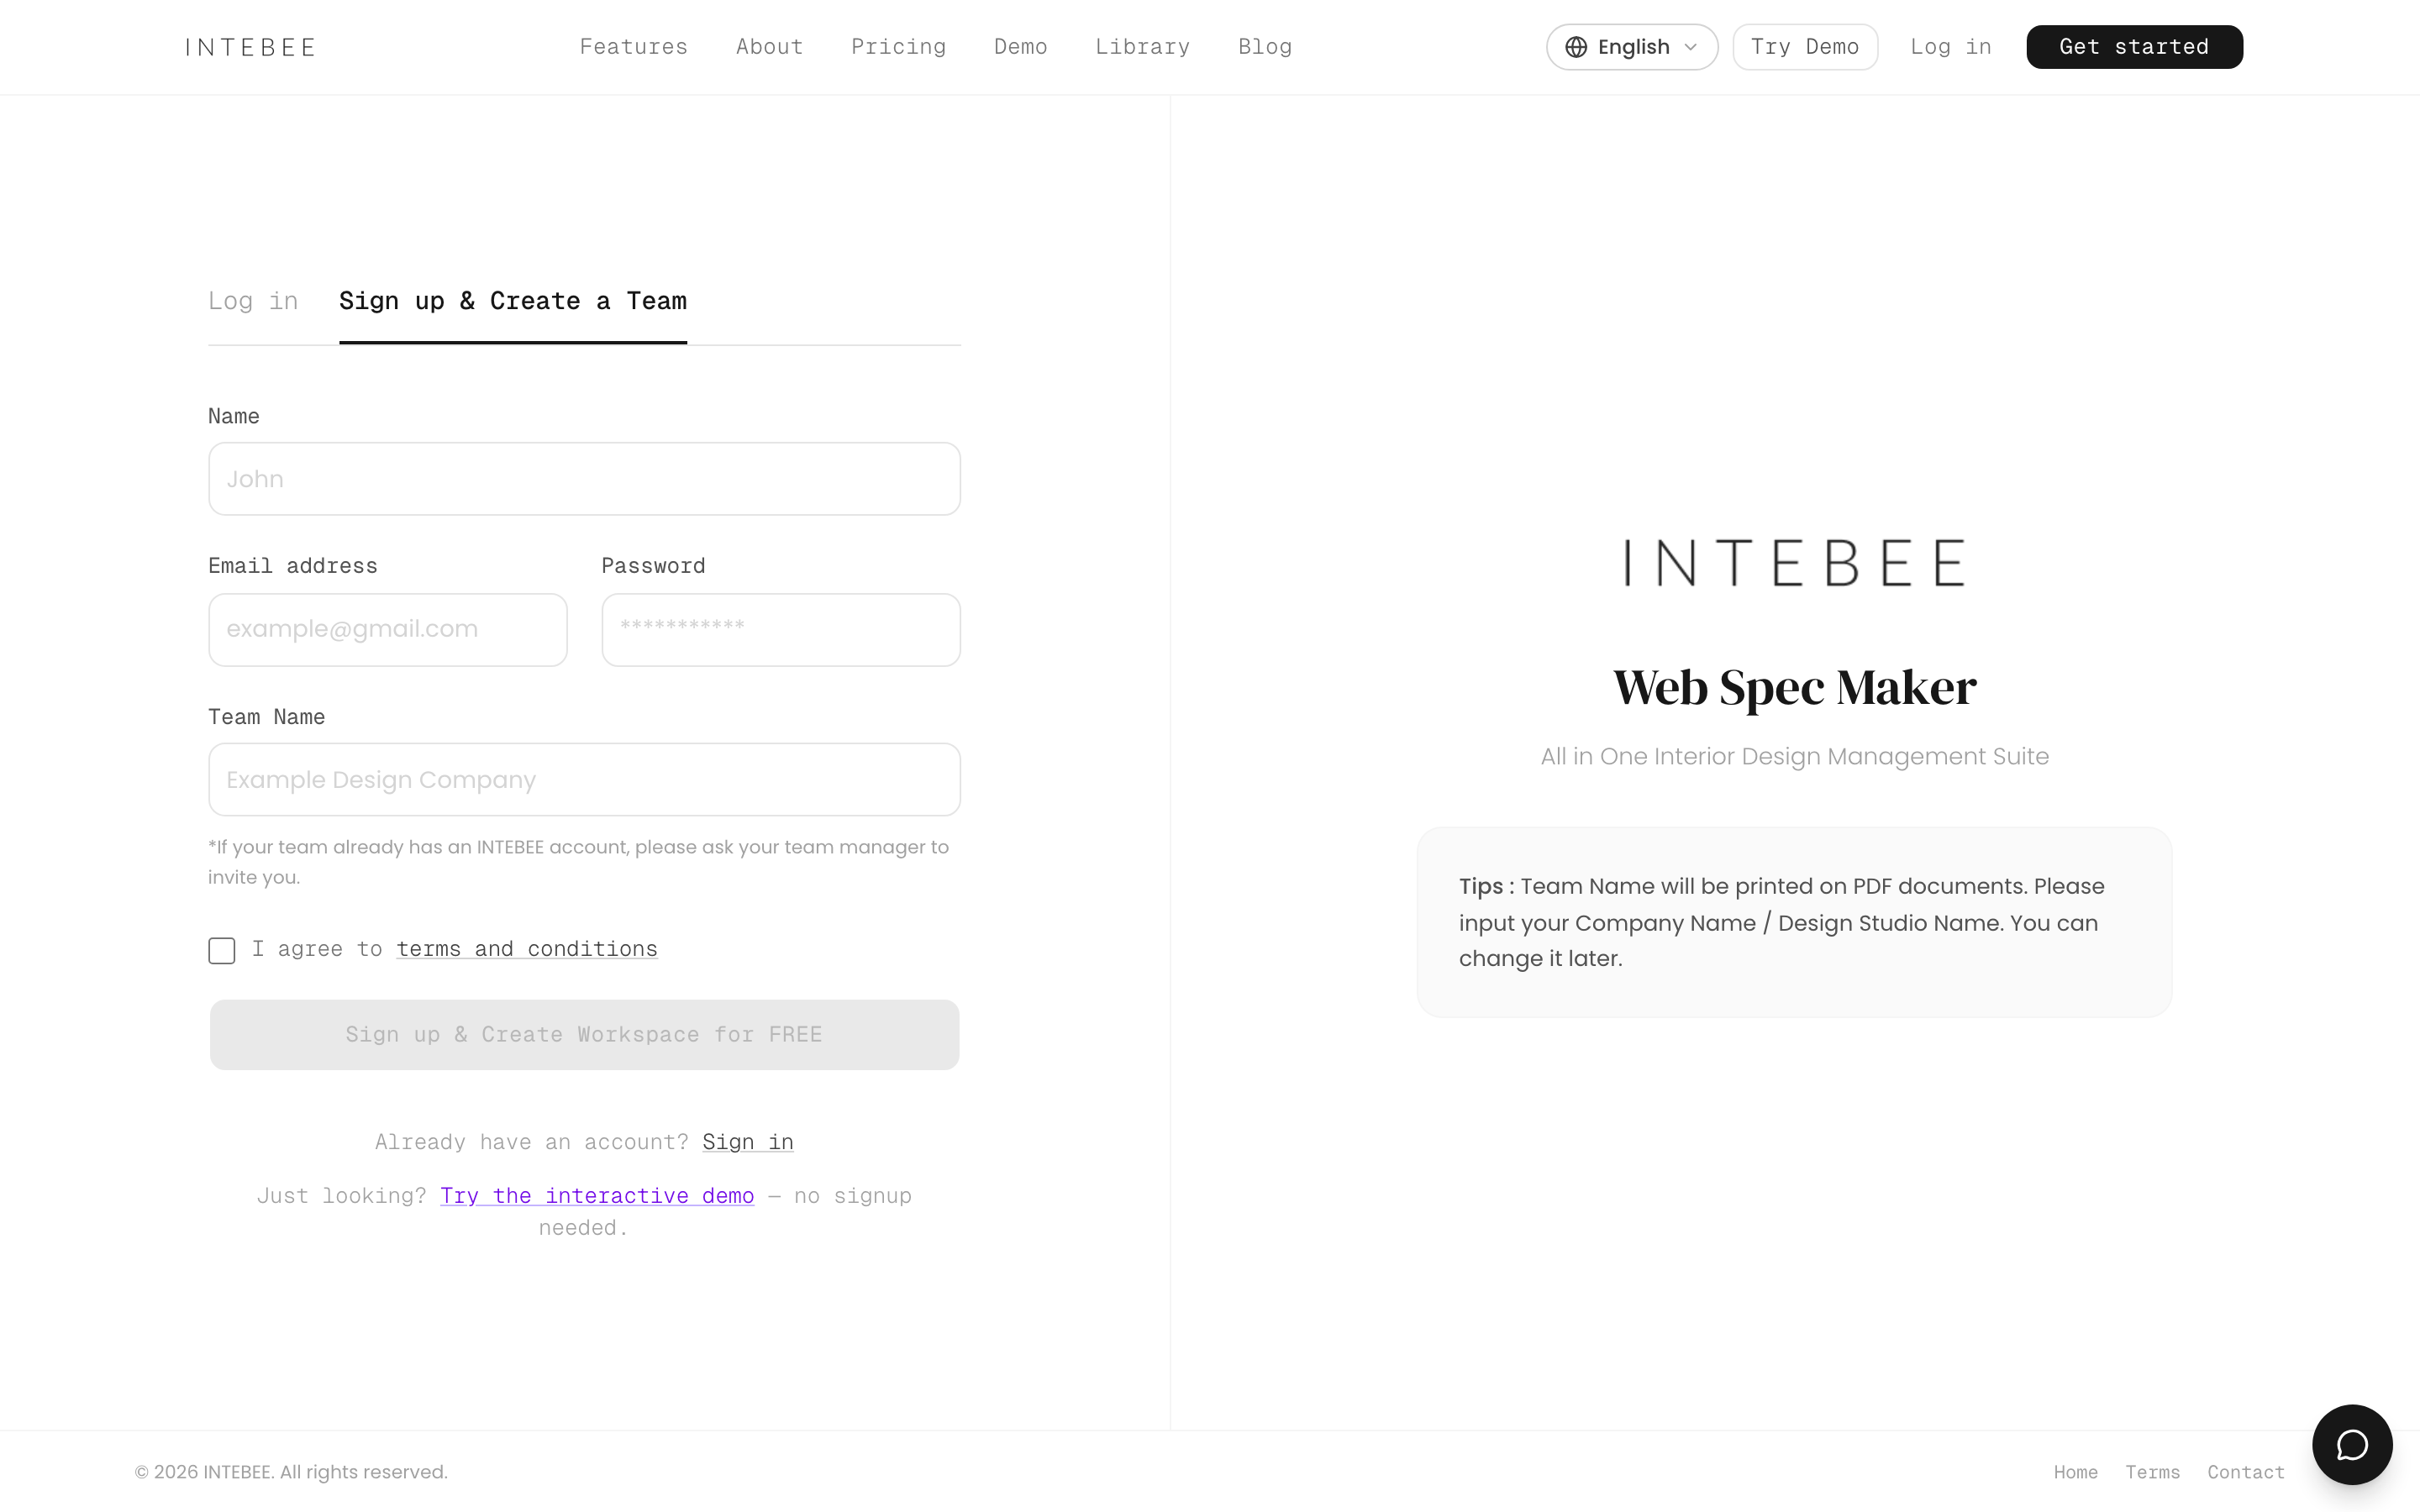
You start on the Free plan, which is enough to explore the product with one project. See Subscription plans for what each plan includes.
Set your workspace defaults
Open Settings in the sidebar. The hub has six sections — General, Labels, Templates, Categories, Data Export and Backup — and General is where the defaults every new project inherits live:

- Team Profile — Workspace Name, Country and the Team Logo printed on spec sheet PDF headers.
- Item Codes — the Item Code Logic new projects start with, plus Auto zero-fill spec codes.
- Languages — Default Spec Sheet Language, Enable dual language by default and the Default second language.
- Spec Sheet Defaults — Show location of hidden area items by default, and a link to the export defaults in Templates → Export Layouts.
- Project Configuration — the Project Status List and Project Category List your team picks from.
- Requirement Tags — the submittals you ask makers for (see Requirement tags).
Every one of these is only a starting point: each project can choose its own in Project Settings. Full detail on both pages in The Team page.

Invite your team
Open Team in the sidebar — that page is the member list — and invite colleagues by email as a Member, a Manager or an Admin. Each plan includes a number of member seats and the count includes you — a 2-member plan is you plus one more person. See Invite team members and Roles and permissions.

Your personal settings
Your own settings are separate from the workspace's, and they sit in the user menu at the top right:
- My Account — your name, title and avatar, plus the guided tour.
- App Language — the interface language, in the user menu and on the globe button in the header. Eight languages (English, 日本語, 中文, 한국어, Français, Deutsch, Español, Italiano); your documents keep their own language settings.
- Display Font Size — scale the interface for reading comfort.
Your password lives on your own account page, not in the workspace Settings hub — the Settings entry in the user menu opens the workspace settings. See Your account settings.

The welcome setup
The first time you open the Dashboard, a short Welcome to INTEBEE setup suggests team defaults (categories, item codes, print and list layout, languages). It is saved per user.
- Skip for now closes it; it comes back on your next visit at the step where you left off.
- Tick Don't show this again before skipping to stop it for good. After you skip it twice, it also stops appearing.
- Nothing is changed when you skip — every setting it offers stays available under Settings.