
Managing Categories
The category list that organizes products and spec sheets, and the defaults each category carries.
Categories are the backbone of your catalog — they power the filters in Team Products, the pickers in spec sheets, part of every item code, and the structure of exports.
Main Category and Sub Category
A category is one row with two names:

- Main Category — the broad group the row belongs to ("Furniture", "Lighting", "OS&E"…).
- Sub Category — the level you actually pick on a spec sheet ("Lounge Chair", "Pendant", "Uniform"…).
Each row also carries a Category Code — the short letter code that appears in item codes when the project's Item Code Logic includes the category (BAR-001-SG, SG-001) — and a badge colour, so a category is recognisable at a glance in lists and pickers. Leave the colour on Automatic and INTEBEE picks a stable one for you.
Open Settings (sidebar → Manage) and choose the Categories section. It has two tabs:
- Preset Categories — the standard list INTEBEE ships. They cannot be deleted, but any of them can be disabled, which takes it out of every picker and filter without touching the products and sheets that already use it. Re-enable it and everything is as it was.
- Custom Categories — your own. Add New asks for the Main Category Name, the Sub Category Name (required), the Category Code, and whether the category is a Finish or Fabric&Leather one. Custom categories can be edited and deleted. A custom category that is still used cannot be deleted: the delete dialog shows how many spec sheets (in active projects, outside the Trash) and products use it, and Delete stays unavailable until you move them to another category. Spec sheets in the Trash or in deleted projects that still use it are left without a category. The team's own names for its main category are removed with the last category that carries it.
There is no manual ordering — the list is sorted for you.
What a category carries
Click any row to expand it. Beyond the names and the code, a category holds:
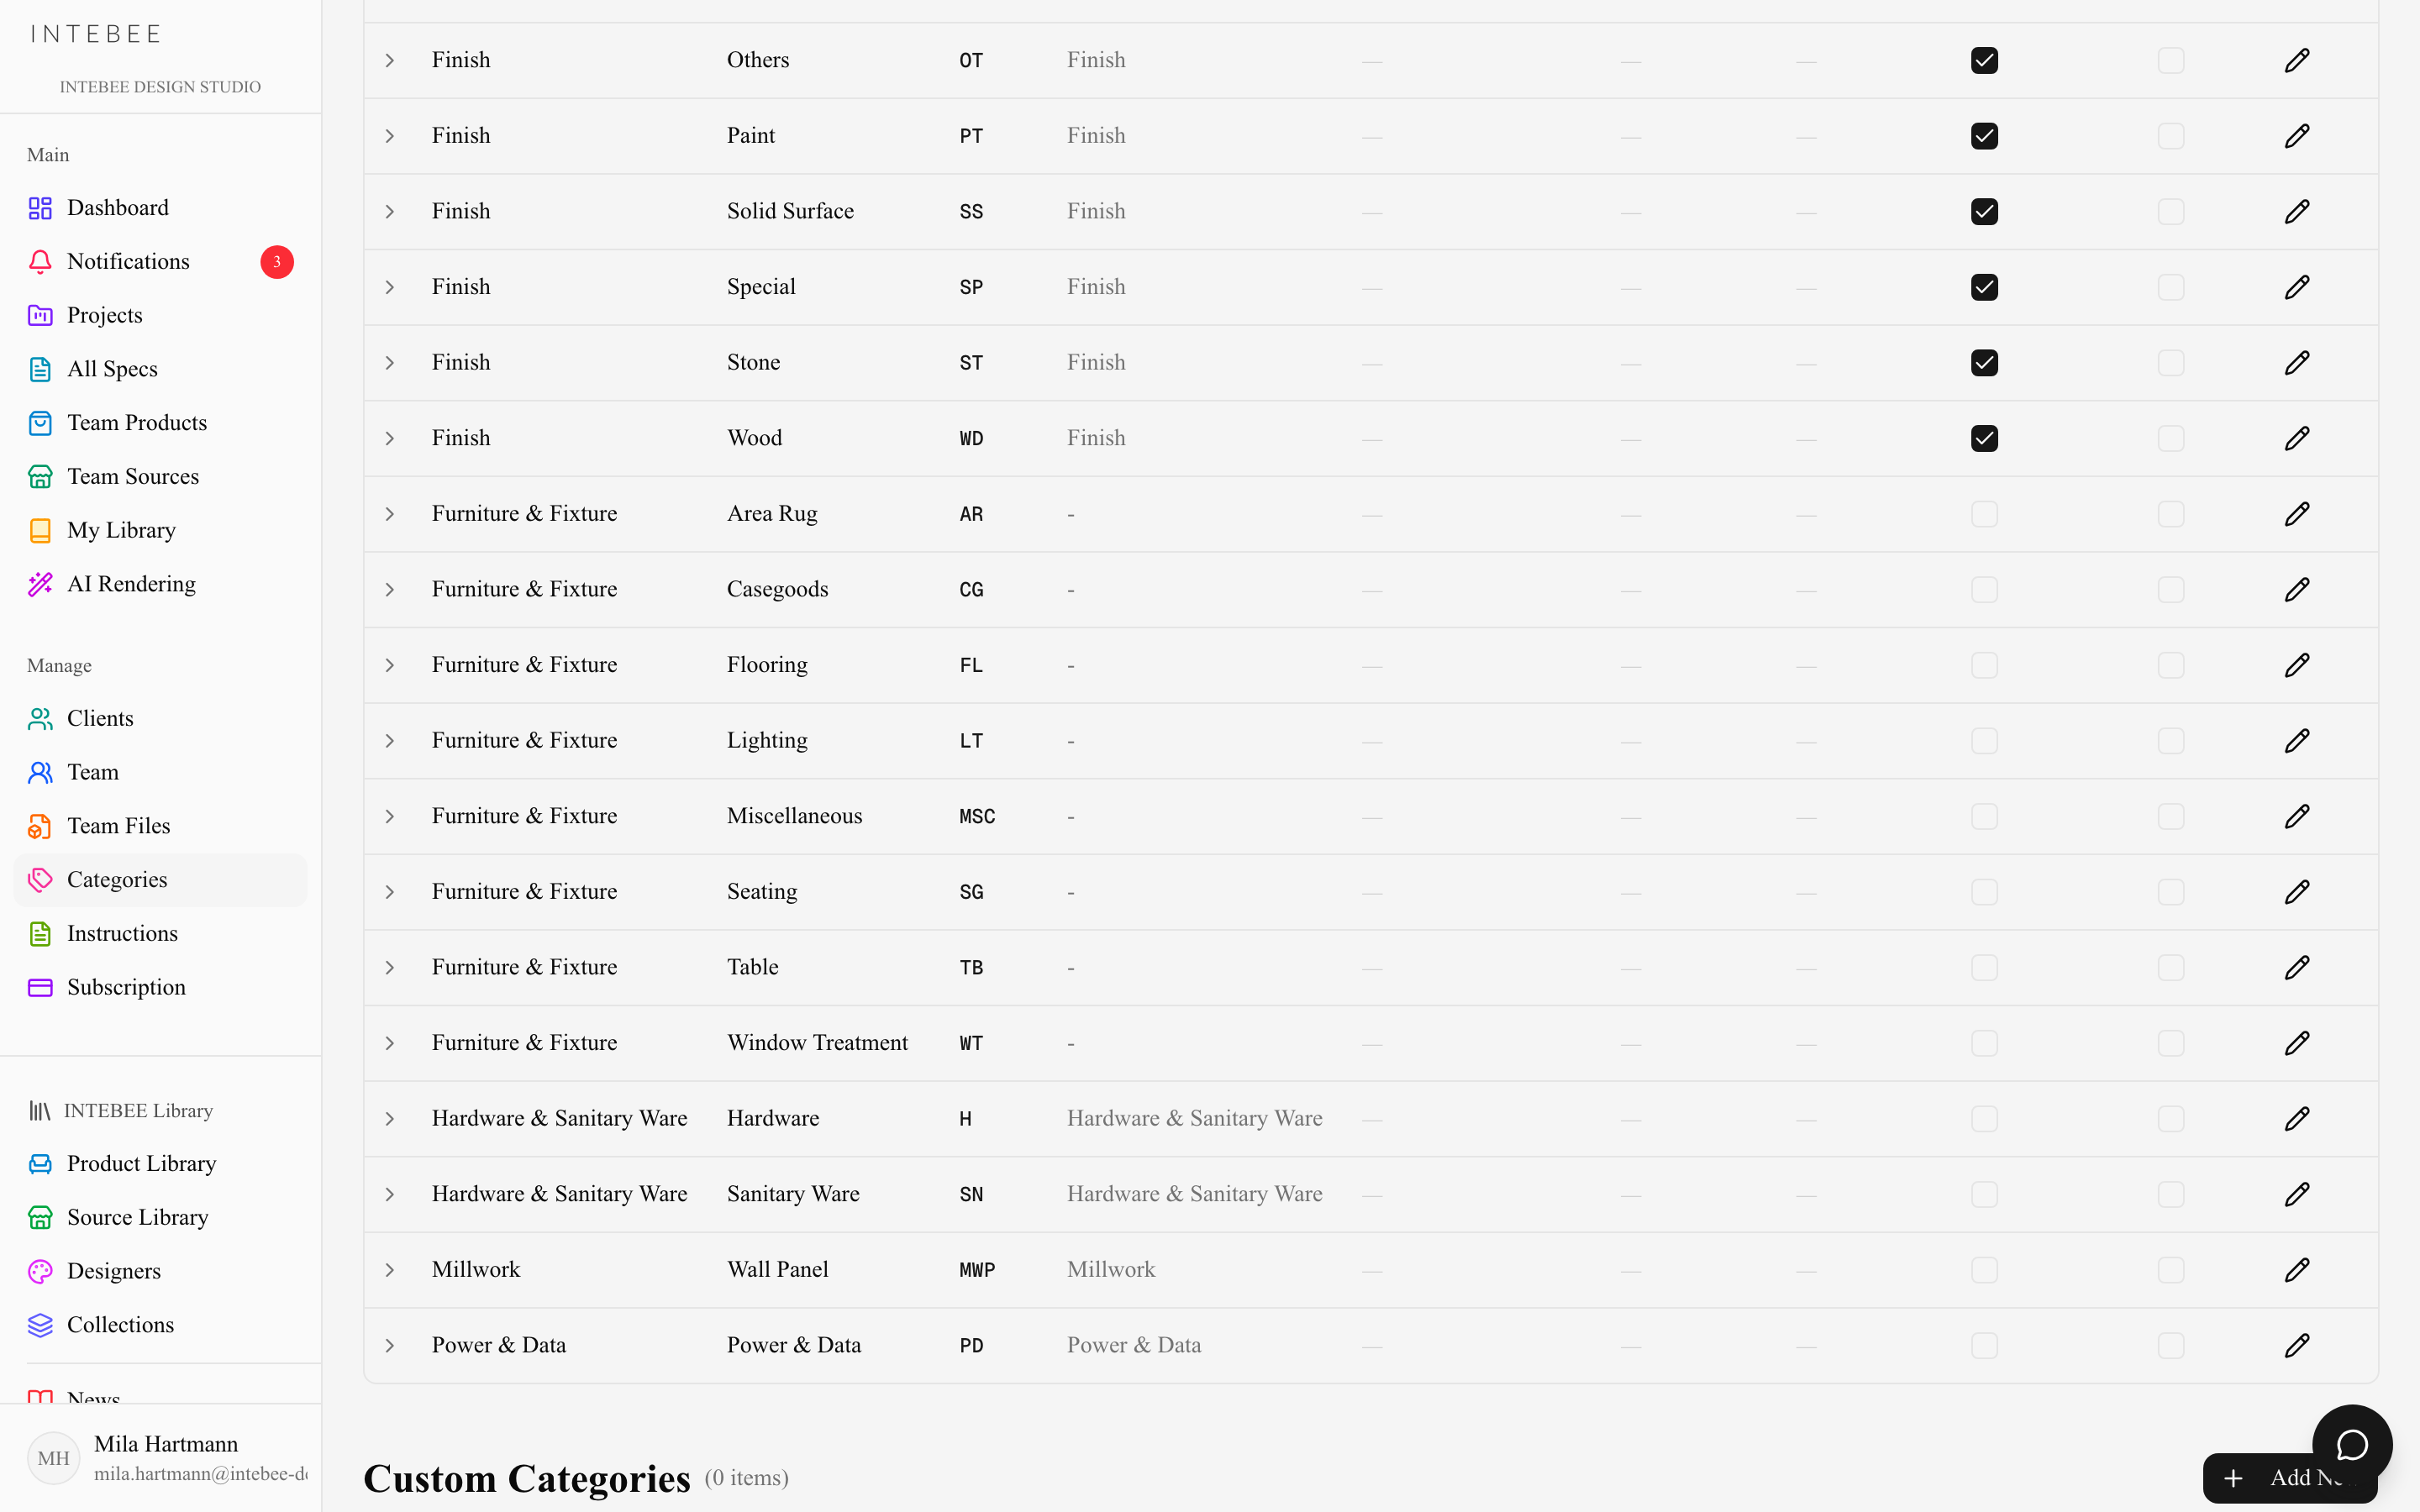
- Hide Area Code — leaves the area out of the item codes of sheets in this category. This is what makes a finish code read
WD-01rather thanLB-001-WD. Turning it on or off rebuilds the item codes of the sheets already in the category. - Finish or Fabric&Leather — the flag that decides whether a spec in this category can be linked as a material. See Finishes, fabrics & leather.
- Names in other languages — pick a language and type the category's name in it. Category names on a printed sheet follow the project's spec sheet language, so this is what makes them print correctly. See Language settings.
- Spec Defaults, applied automatically when the category is chosen on a sheet: a Pre-filled Description (per language), a Pre-filled Instruction and Pre-filled Remarks chosen from your templates, and the Requirement Tag(s) a new sheet starts with. Each has a Reset to default button that puts INTEBEE's built-in choice back. The Pre-filled Description is saved for your team, per language — INTEBEE's preset categories included — and is empty until you write one.
Spec defaults are copied onto the sheet when you pick the category, so changing a default later does not rewrite sheets that already exist.
Good practices
- Match your specification convention, not your supplier's — categories are for finding things during design, and their codes end up on every document.
- Prefer disabling to deleting; history and imported data stay intact.
- Set the category code before anyone specifies in that category. Changing the Category Code, the name, the main category or Hide Area Code later rebuilds the item codes of the sheets already in the category, in every project of the team — the letters change, the numbers stay. Protected (imported) item codes, codes without a number, and projects with no Item Code Logic (or a manual one) are left as they are.
- When importing data from the previous system, review the category mapping early — recategorizing 500 products later is nobody's favorite afternoon.