
Floor Plan Editor Basics
Create a plan, set its scale, and export it — the frame around everything else the editor does.
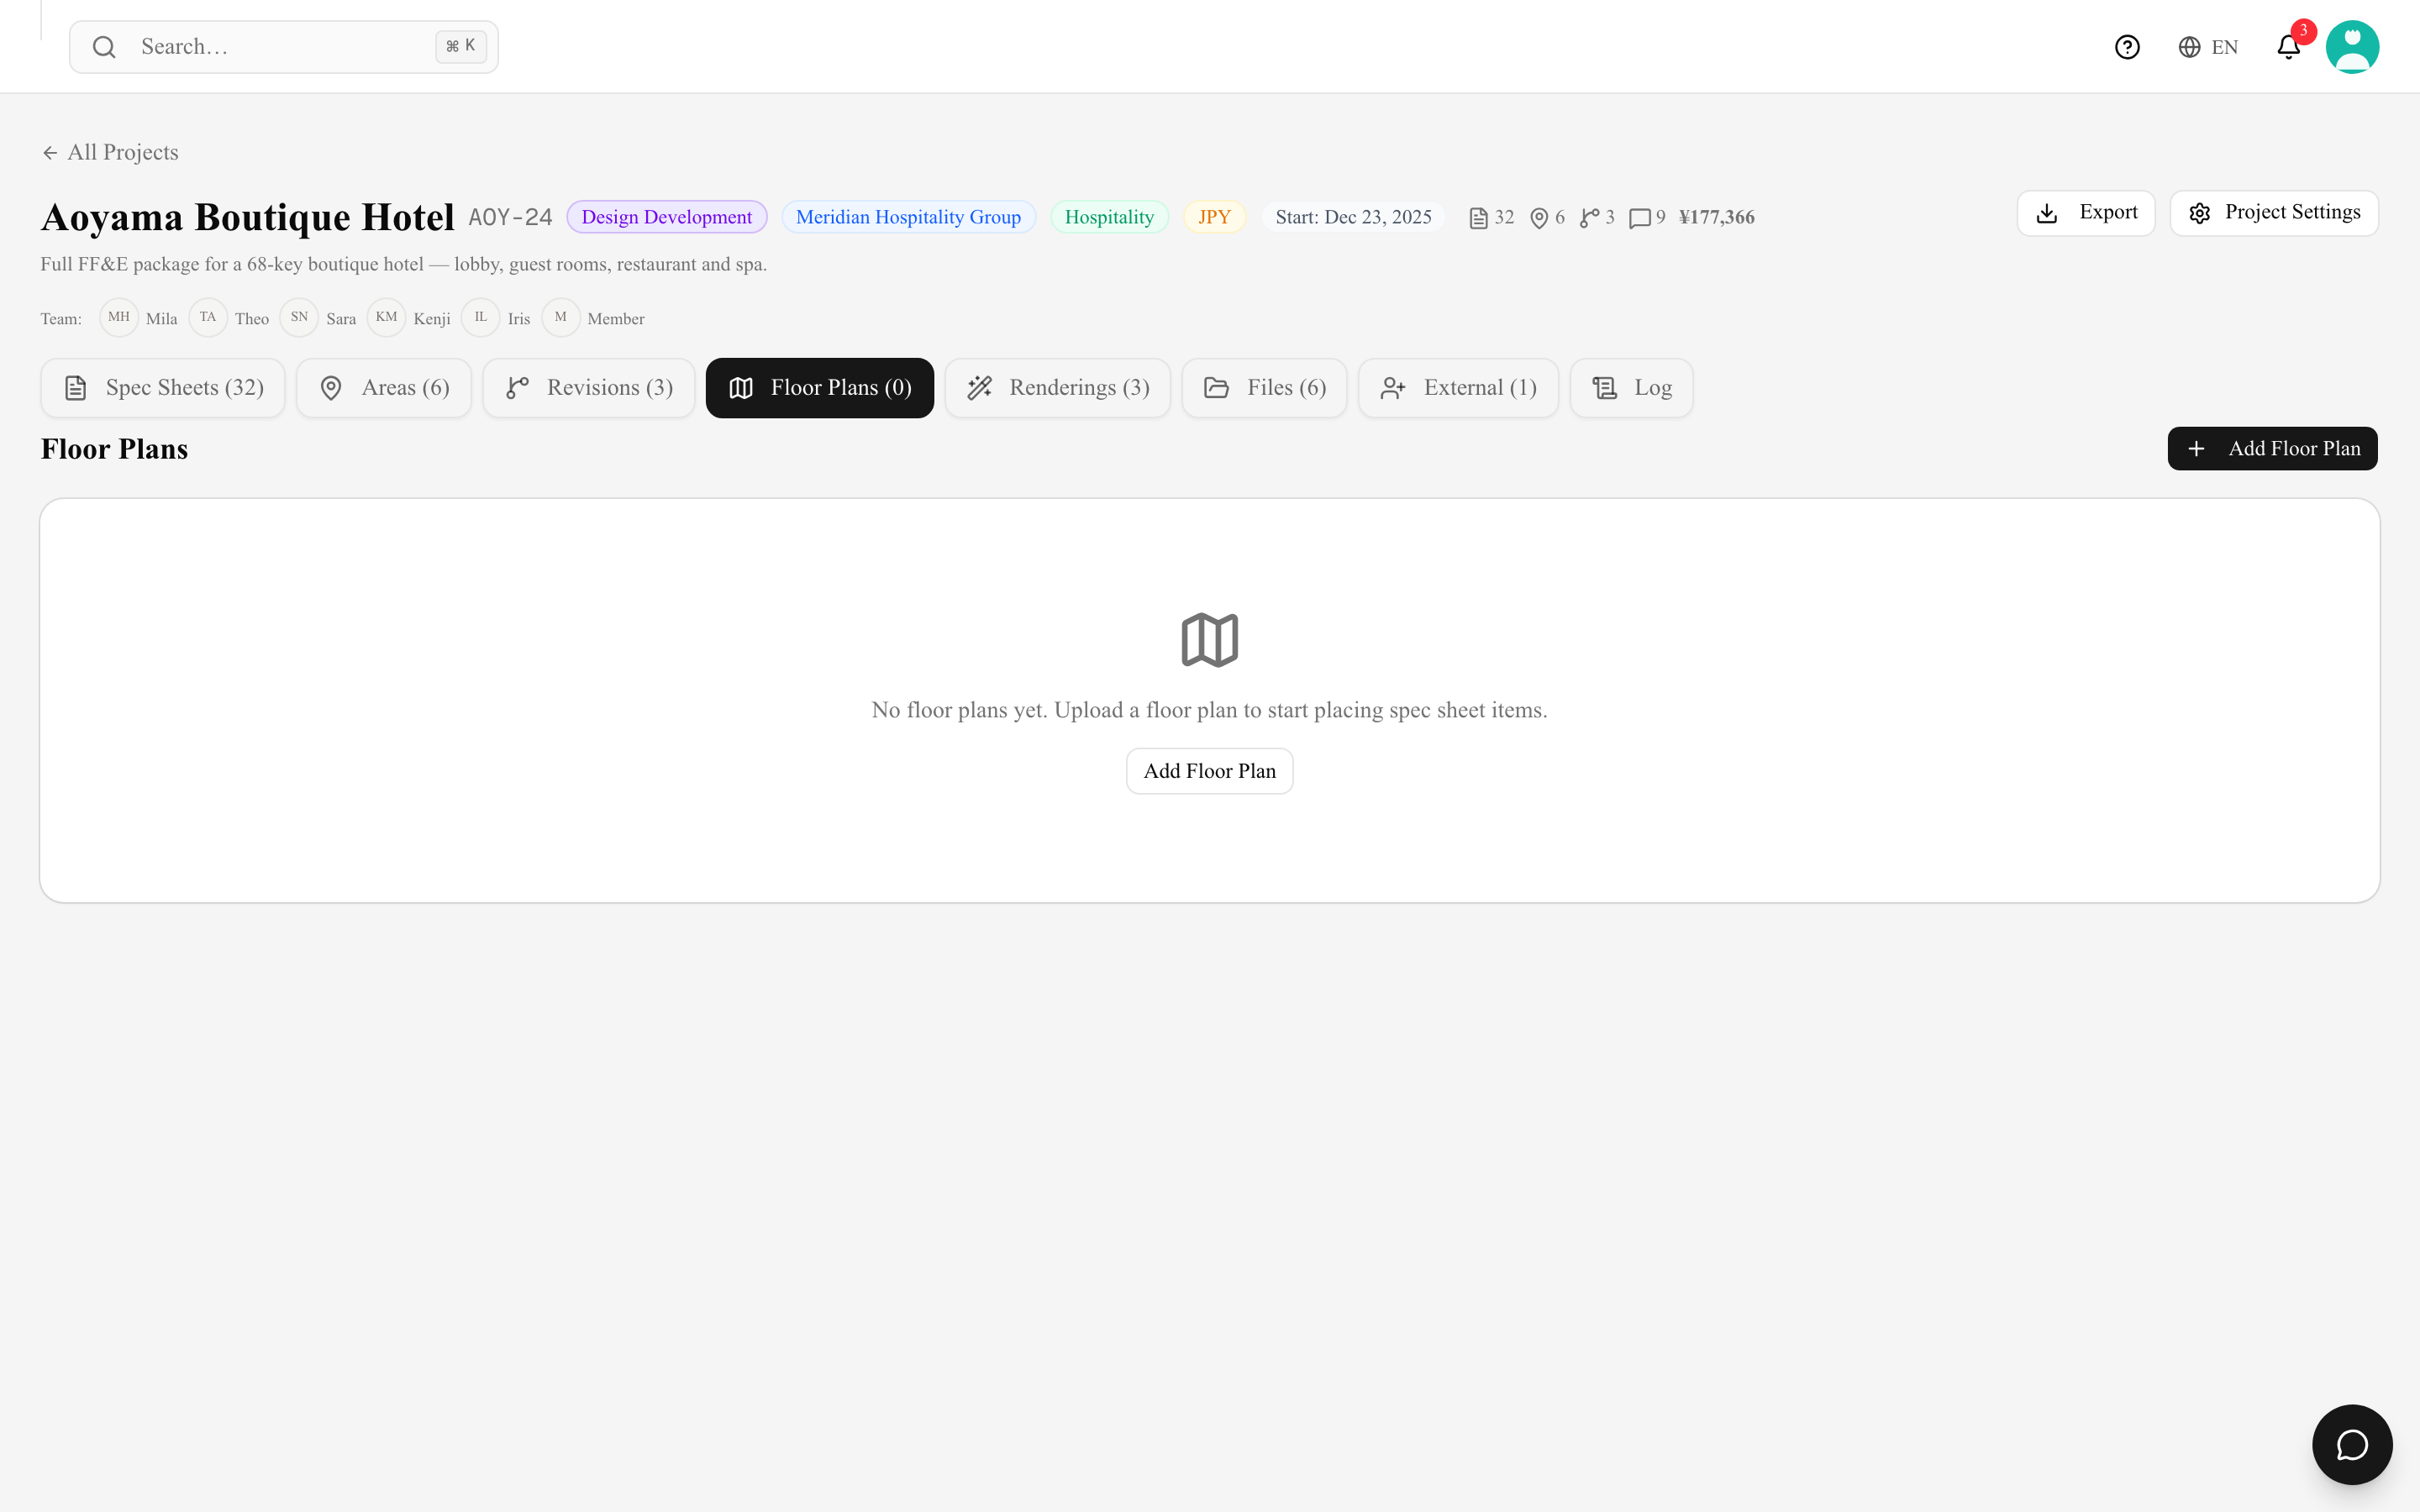
The Floor Plans tab of a project holds the plans where you place the items you've specified. Plans are drawn in the browser — pan, zoom and edit directly.
Creating a floor plan
- Open the project's Floor Plans tab and click Add Floor Plan.
- The New Floor Plan dialog asks for a name only (e.g. "1F Floor Plan", "Guest Room Type A"). You can rename it later.
- Click Create Floor Plan and you land straight in the editor.

An empty plan opens on How do you want to start? with three ways in:
- Import image / PDF — use an existing floor plan file as the base. A plan holds one base image: uploading another image or PDF with the toolbar's Floor Plan button replaces it.
- Draw from scratch — draw walls, doors, windows and rooms yourself.
- Use a template — start from a ready-made layout and adjust it.
You can combine all three at any time, so tracing a drawn plan over an imported image is a normal thing to do.
Plan limits
Floor plans are counted per project, and the limit is checked when you create or duplicate one:
| Plan | Floor plans / project |
|---|---|
| Free | 1 |
| Personal | 1 |
| Atelier | 8 |
| Studio | 10 |
Archived plans don't occupy a slot. If you are at the limit, archive a plan you have finished with and you can draw a new one — unarchiving is checked against the same limit. See Subscription plans. A deleted plan doesn't occupy a slot either, and restoring one is checked against the limit in the same way.
Set the scale first
Almost everything useful — real dimensions, the 1 m grid, walls drawn at a real thickness — needs a scale. Open Scale Setting and either:
- Set by drawing a line — draw a line over something whose length you know, then answer What is the real-world distance?, or
- enter a Scale ratio (1:N) directly.
Insert Scale Bar drops a printed scale bar onto the sheet, and Clear Scale starts over.
Units is its own popover. It sets a Primary and a Sub unit for Length (mm, cm, m, inch, feet, yard) and, separately, for Room area (m², cm², ft², in², yd², tsubo), plus a Show area on rooms switch that prints each room's area inside it.
Working in the editor
- Pan & zoom — Ctrl+Scroll to zoom, Space+Drag to pan, Fit to screen to reset.
- Undo / Redo — ⌘Z and ⌘⇧Z. Ctrl+S saves, and the plan also auto-saves. Undo and Redo are saved too, so reloading or leaving the plan keeps what you see. Your last change is sent even when you reload or close the tab straight after making it. On a very large plan (for example one with a PDF background) the browser first asks whether to leave — stay a moment and the save completes.
- Frame — the printable page frame, with a Side spec frame and a Top/bottom spec frame you can drop spec-sheet slots into. Your workspace logo, the project name, the plan name, the date, the page size and the scale are drawn into the title block in the top-left corner automatically — there is nothing to switch on.
- Opacity — fade an imported plan image back so your own linework reads over it.
- Clear All empties the canvas — every drawn object and the plan image. Spec cards stay, and ⌘Z brings the drawing back.
- Thumbnails — each plan generates a thumbnail so the list stays visual.
- Archive — old plan versions can be archived rather than deleted, keeping history without clutter, and freeing a plan slot. The card menu also has Rename, Duplicate and Delete. Renaming, archiving and deleting a plan are recorded in the project's Log tab.
- Delete — not permanent. The plan leaves the list (its link no longer opens) and moves to Deleted at the bottom of the Floor Plans tab, where any workspace member can Restore it with its drawing and spec cards intact. A deleted plan doesn't count toward your plan's limit, and external collaborators don't see it. Restoring a plan that isn't archived needs a free slot, like unarchiving.
- Phones — on a phone-width screen the Spec Sheets panel starts hidden and a note explains that the editor works best on a tablet or a larger screen. You can view the plan there; placing items and drawing need more space.
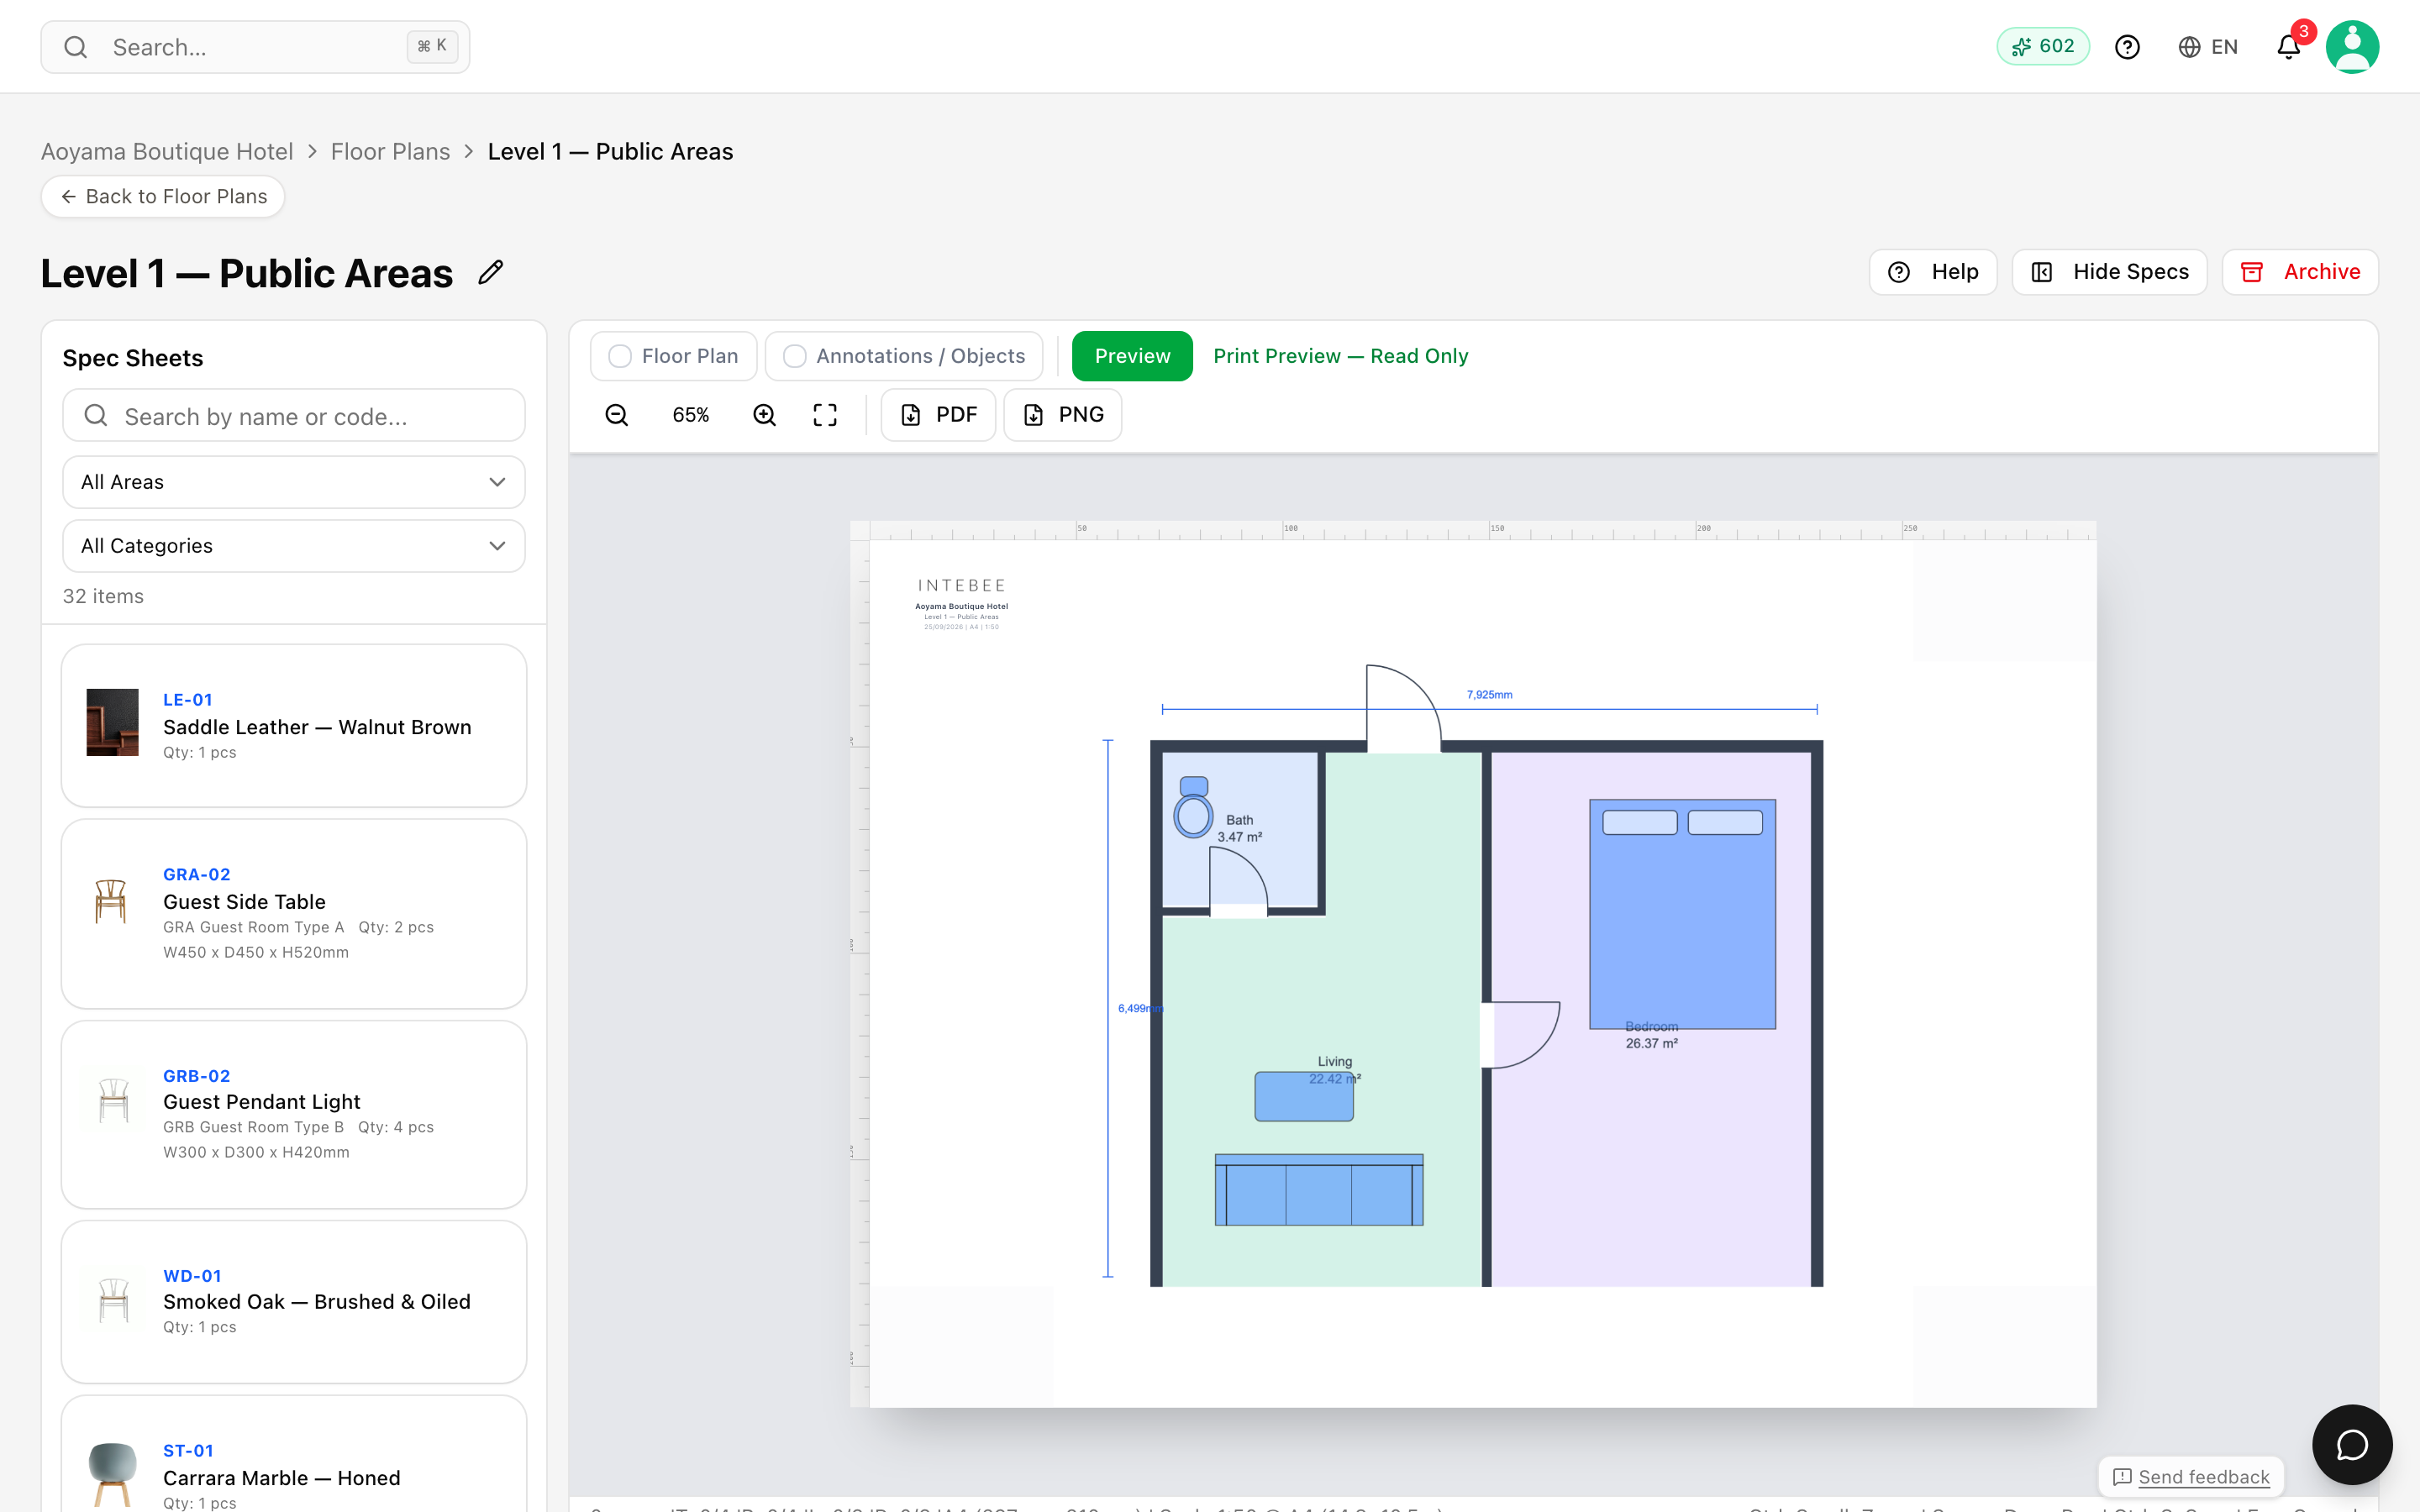
The full toolset — walls, rooms, doors, dimensions, snapping, fills, grouping, custom icons — is in Floor plan drawing tools.
Keeping plans and specs together
The real power is the link between plans and spec sheets: items placed on the plan reference their spec sheet, so the drawing and the document never drift apart. See Placing items on floor plans.
Exporting
Export PDF produces a print-ready sheet at the scale you set, with the frame, the spec slots and the placed item codes rendered onto it. Export PNG gives you an image for slides and email. Preview shows the print sheet read-only before you commit.