
Placing Items on Floor Plans
Put spec sheet cards in the sheet's frame and leader-line them to the drawing.
Placing items connects your specification documents to physical locations on the plan.
The frame and its zones
A floor plan sheet has a drawing in the middle and a frame around it, divided into four zones — Top, Bottom, Left and Right. Spec sheet cards go in those zones, and the drawing keeps the middle to itself.
Each zone holds a fixed number of uniform slots. The Frame popover shows the count for the current sheet (Top/Bottom: n slots | Left/Right: n slots) and lets you resize the zones with the Side spec frame and Top/bottom spec frame sliders.
Slots are counted along the drawing area, not along the frame, so widening a frame gives you fewer slots, not more: a wider Side spec frame narrows the drawing and so shortens the Top and Bottom rows, and a taller Top/bottom spec frame shortens the Left and Right columns. The cards themselves are a fixed size — the sliders have a minimum that keeps one card from overflowing.
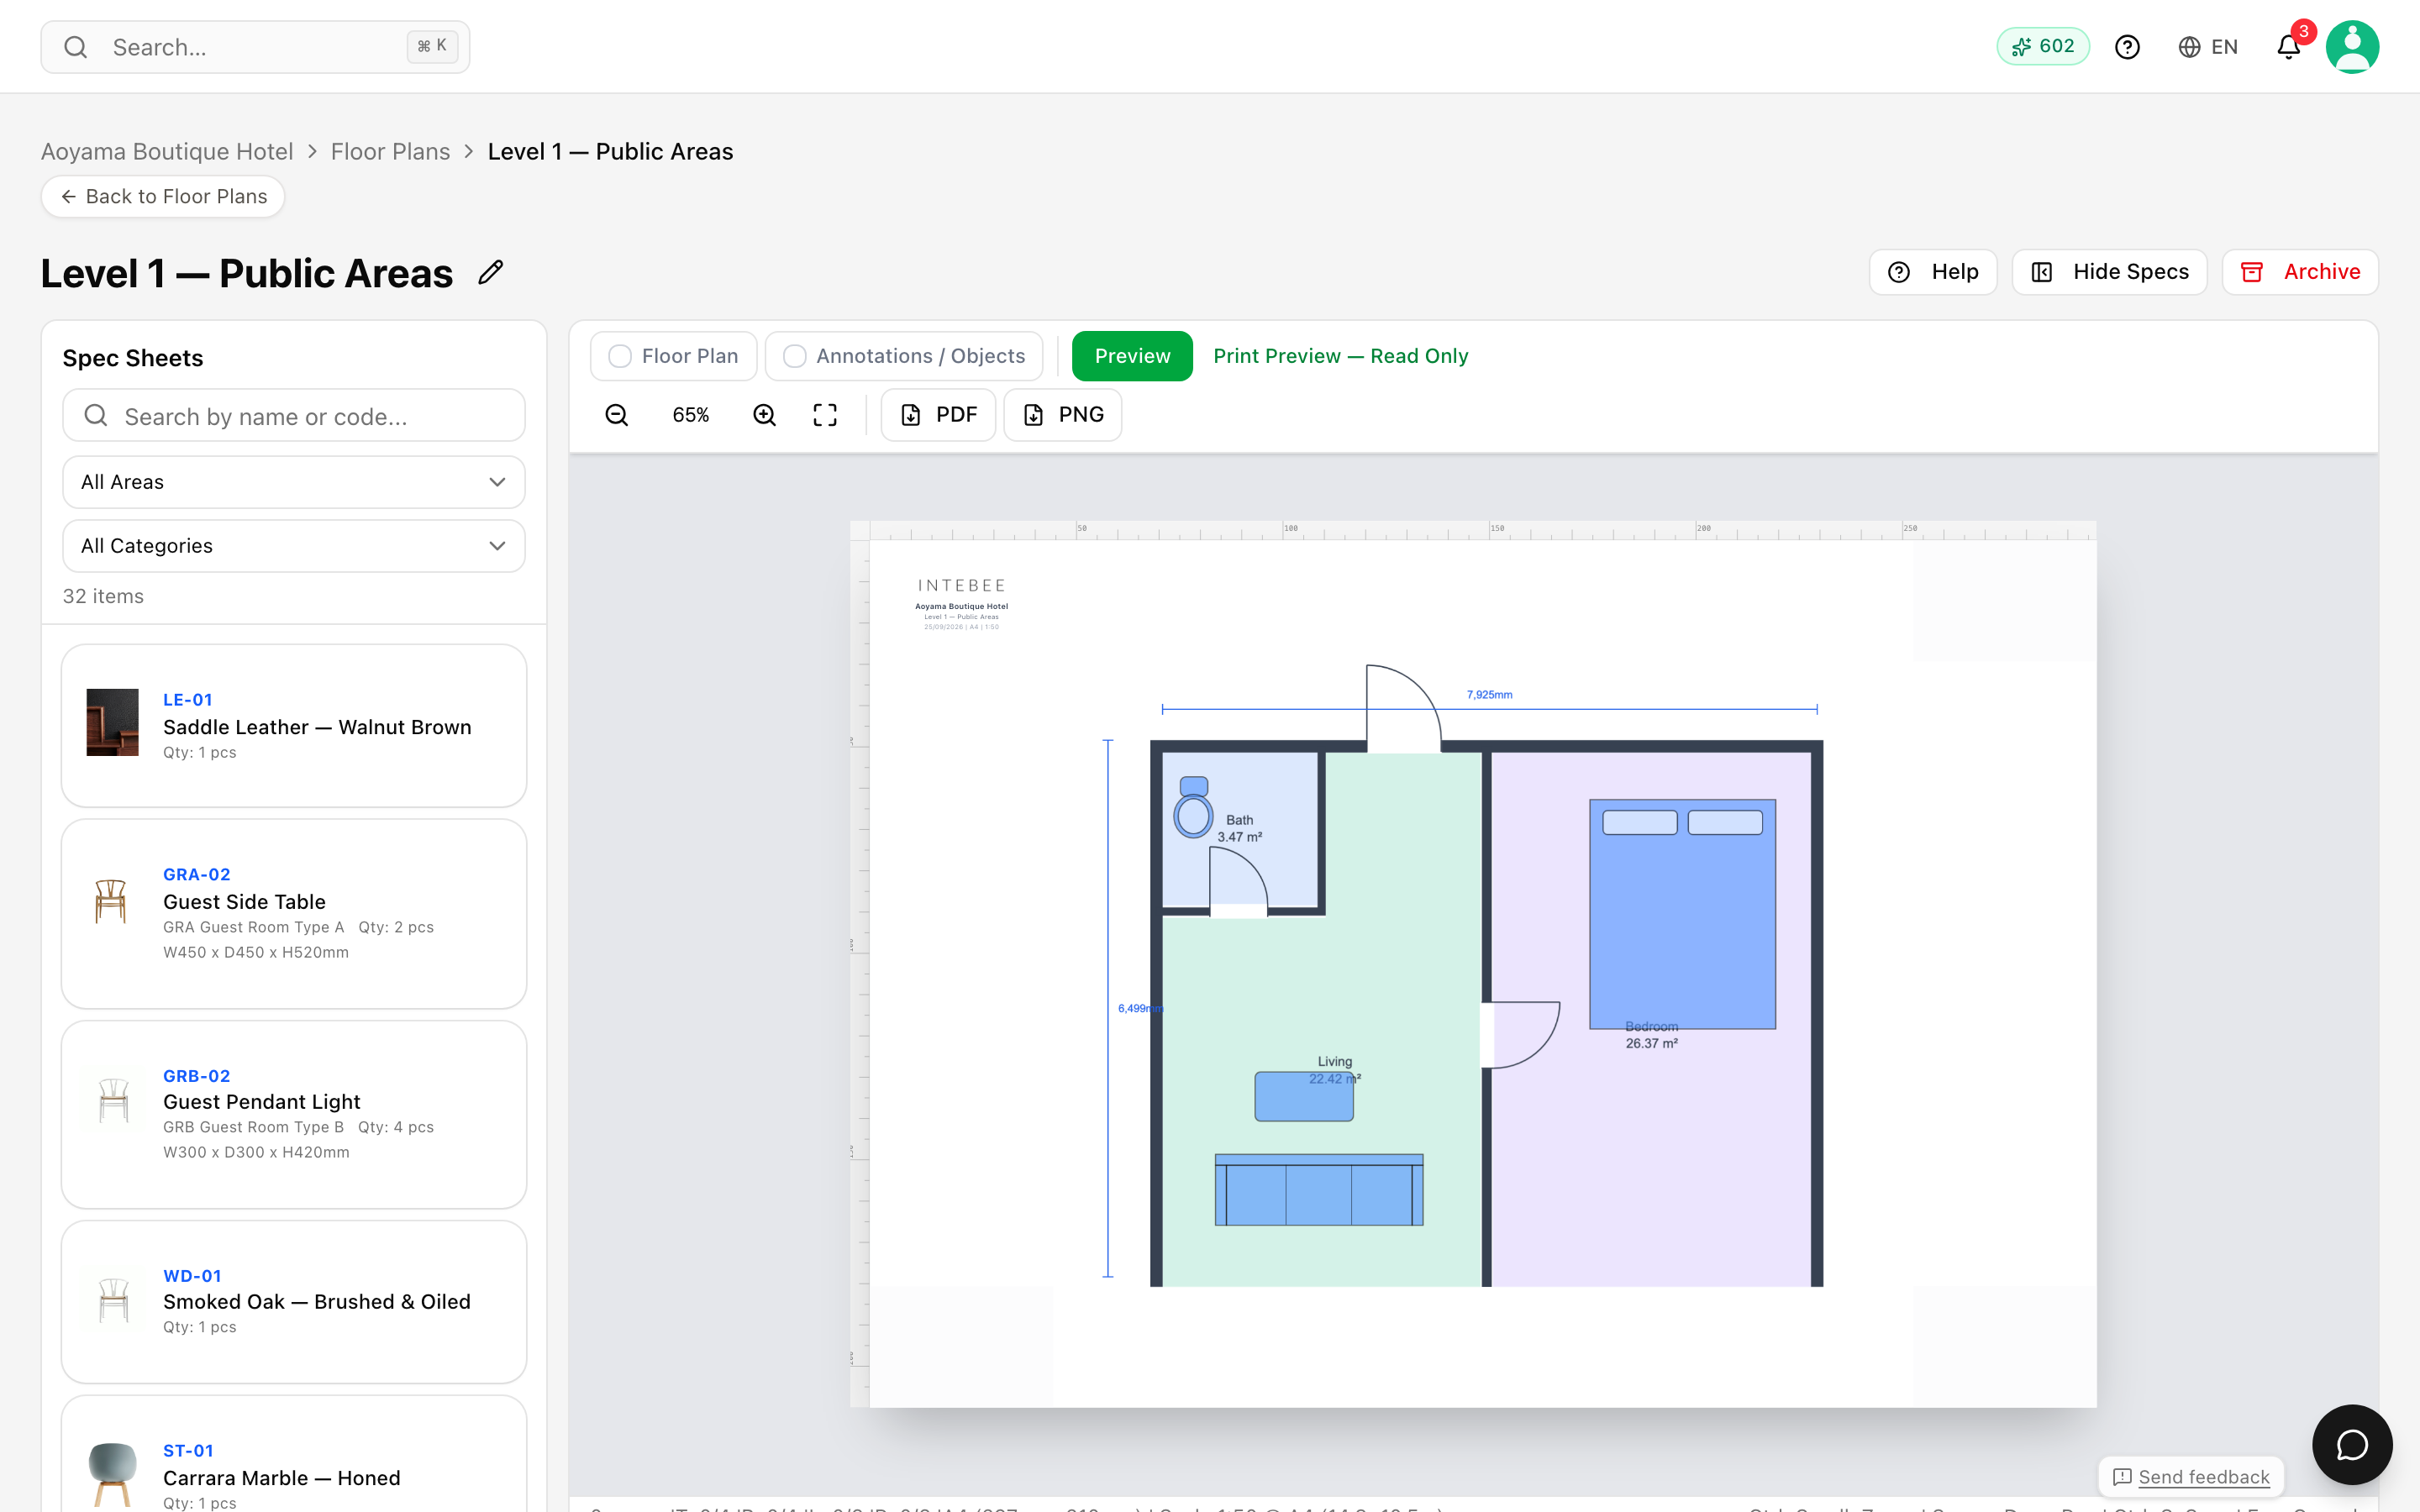
Placing an item
- Open a floor plan in the editor and open the Spec Sheets panel.
- Find the item — filter by All Areas and All Categories, or Search by name or code.... Each row shows its code, quantity and any linked Finish and Fabric.
- Click it. A banner appears: Click a zone to place: with the item code, and each zone shows its usage (
Right (3/6), or Full). - Click the zone you want. The card lands in the next free slot.
A zone at capacity is refused ("Top zone is full"), and when every zone is full you get "All zones are full" — move a card to a freer zone, use a larger page size, or start a second sheet. The grip at the top of any card offers Move to another slot: tap it, then tap the slot you want.
Pointing at the drawing
A card on its own says what; a leader line says where. Every card carries a small + button on the edge facing the drawing — always visible, so it works on a touch screen too. Click it and drag the end of the line to the point it refers to. One card can carry several leaders, for an item that appears in more than one place.
Click a leader to select it, and a style strip appears: Line colour, solid / dashed / dotted, and a width from 1 to 4px, with Remove leader line at the end. Clicking a leader that is already selected adds a waypoint, so a line can route around the drawing instead of crossing it. Leader lines move with both ends, so editing the plan doesn't leave them pointing at nothing.
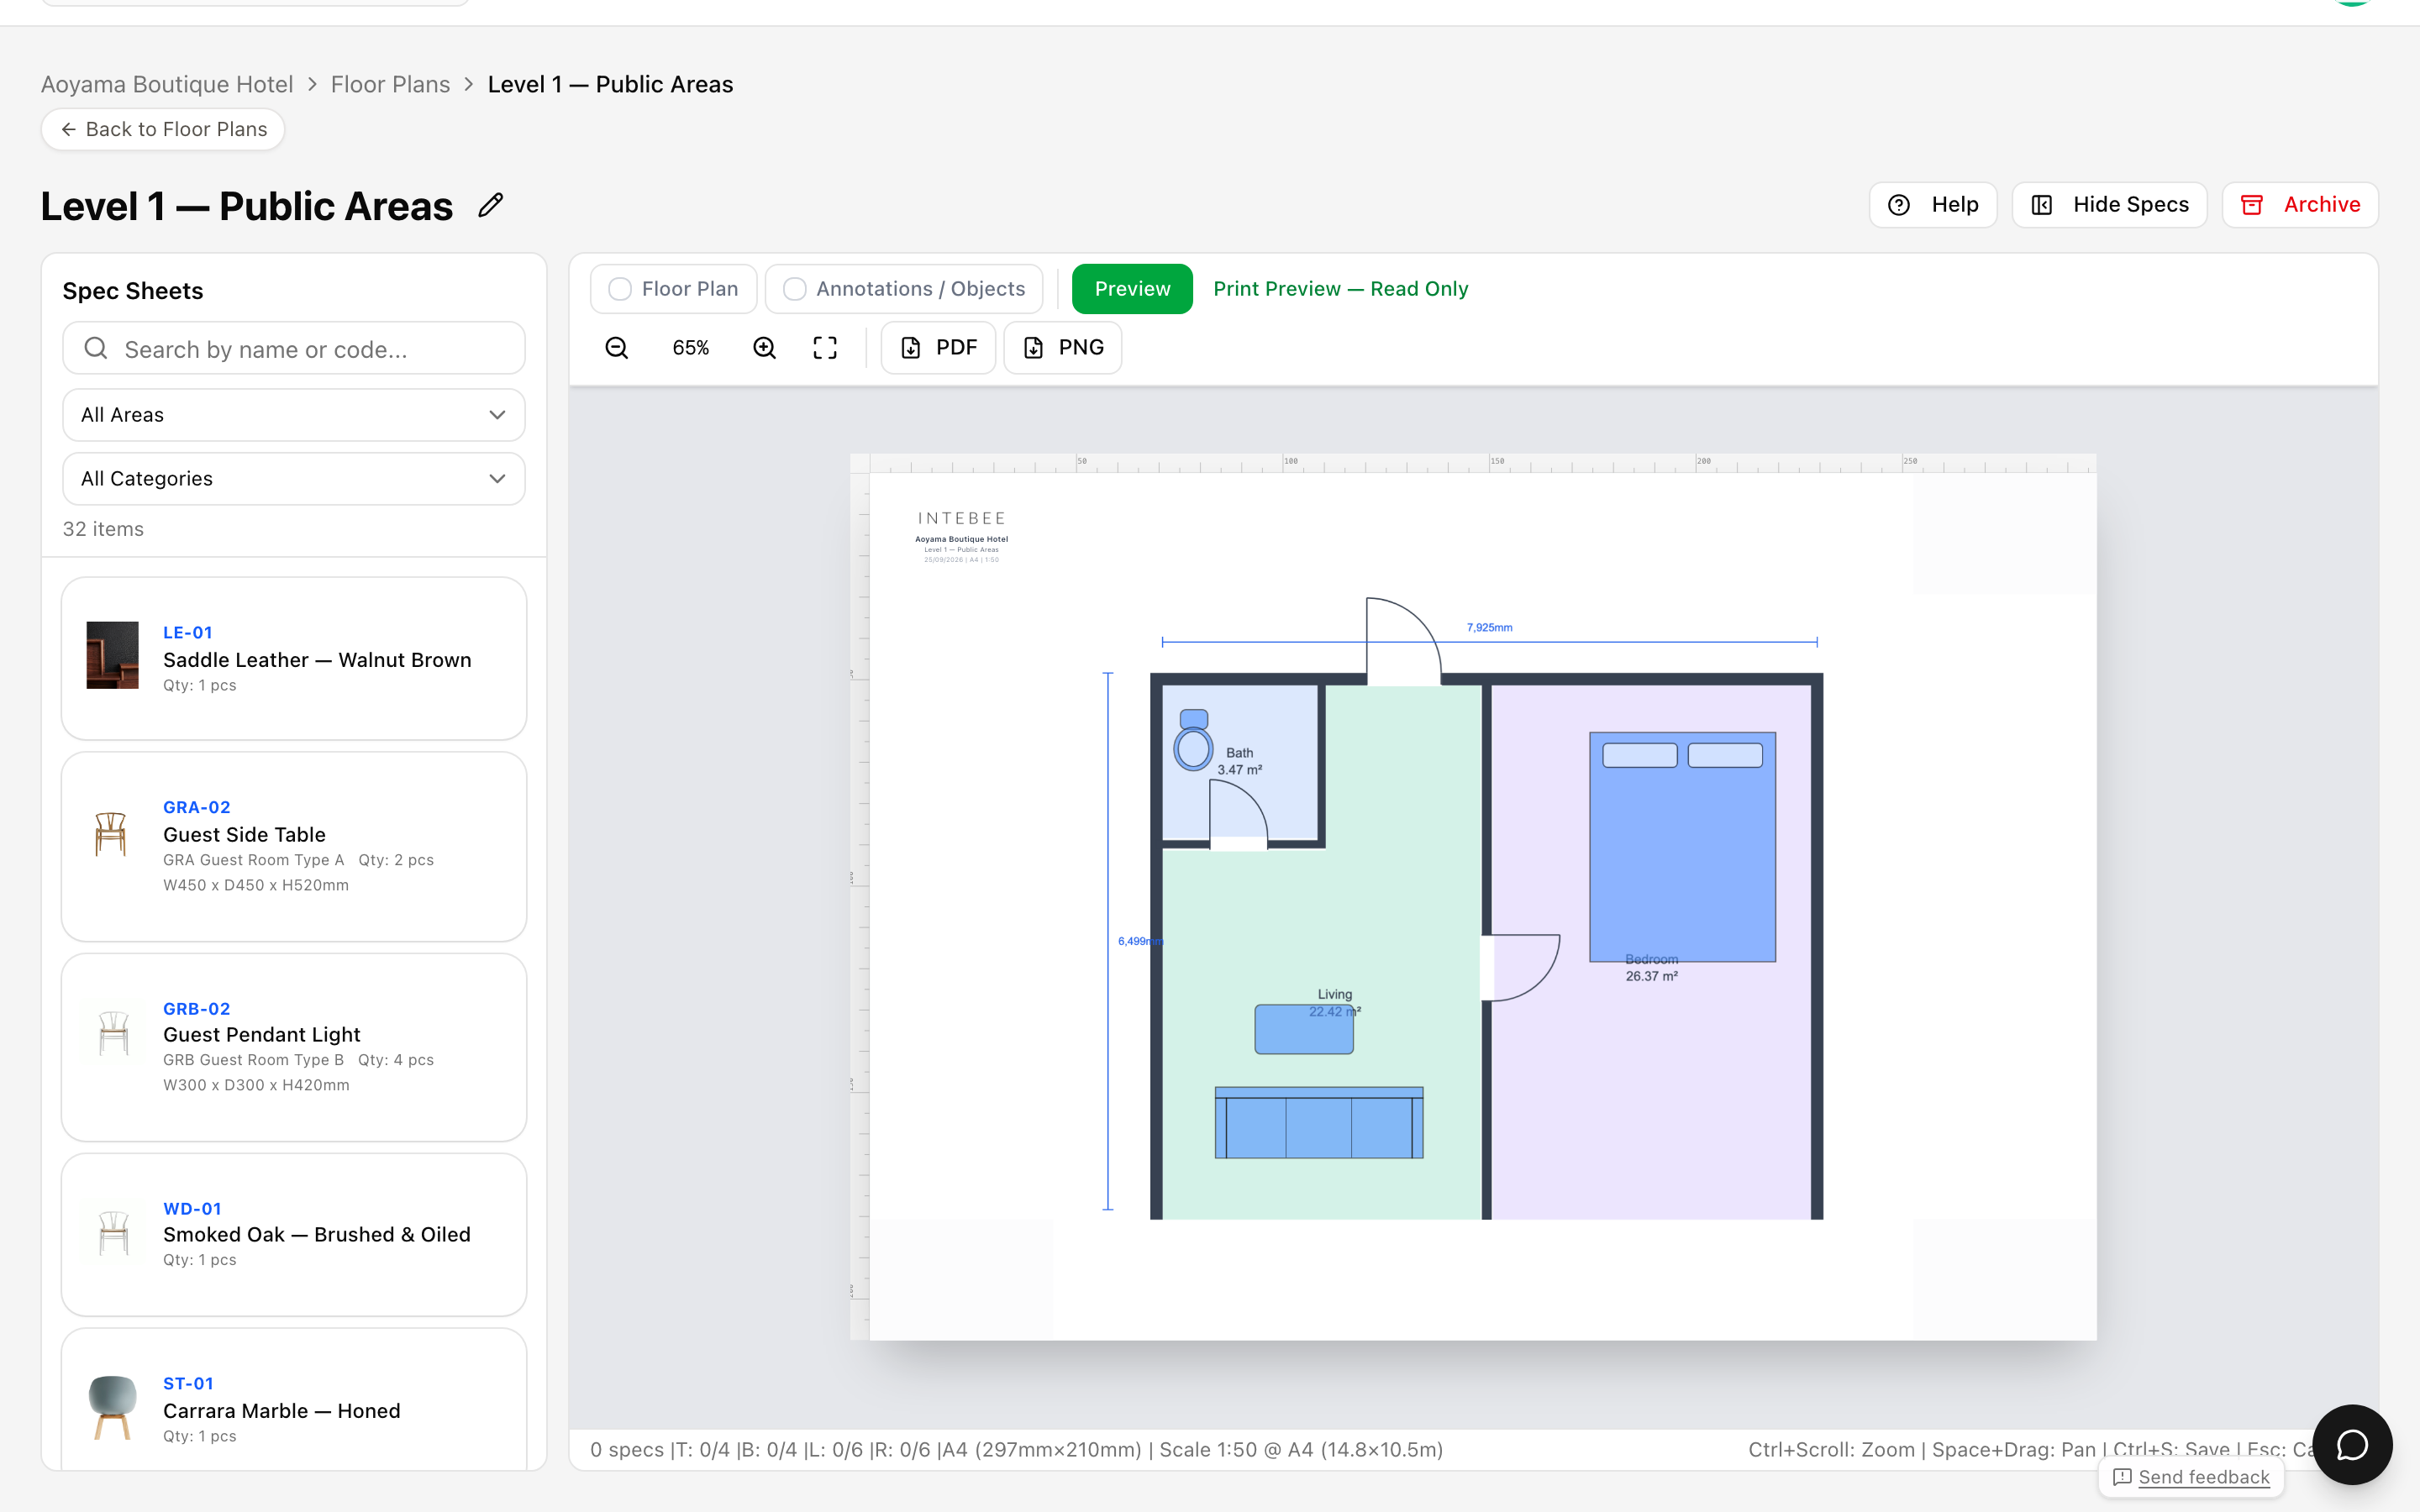
Reading the plan
- Cards carry the item code, so anyone holding the exported spec book can cross-reference plan → document instantly.
- A card whose spec sheet is deleted or in the Trash is hidden, not removed: the status bar counts it as hidden (deleted), and it returns to its place when the sheet is restored.
- Filtering the spec list by area makes it easy to verify that everything specified for a room is actually on the sheet — and that nothing is on the sheet that isn't specified.
Common workflows
- Design review — walk the frame card by card against the spec list to catch missing items before issuing.
- Site handover — Export PDF the plan together with the spec book; contractors locate every item without guesswork.
- Revisions — when an item is replaced, update the spec sheet. The card keeps pointing at the same code, so the plan stays valid.